You have no items in your cart.
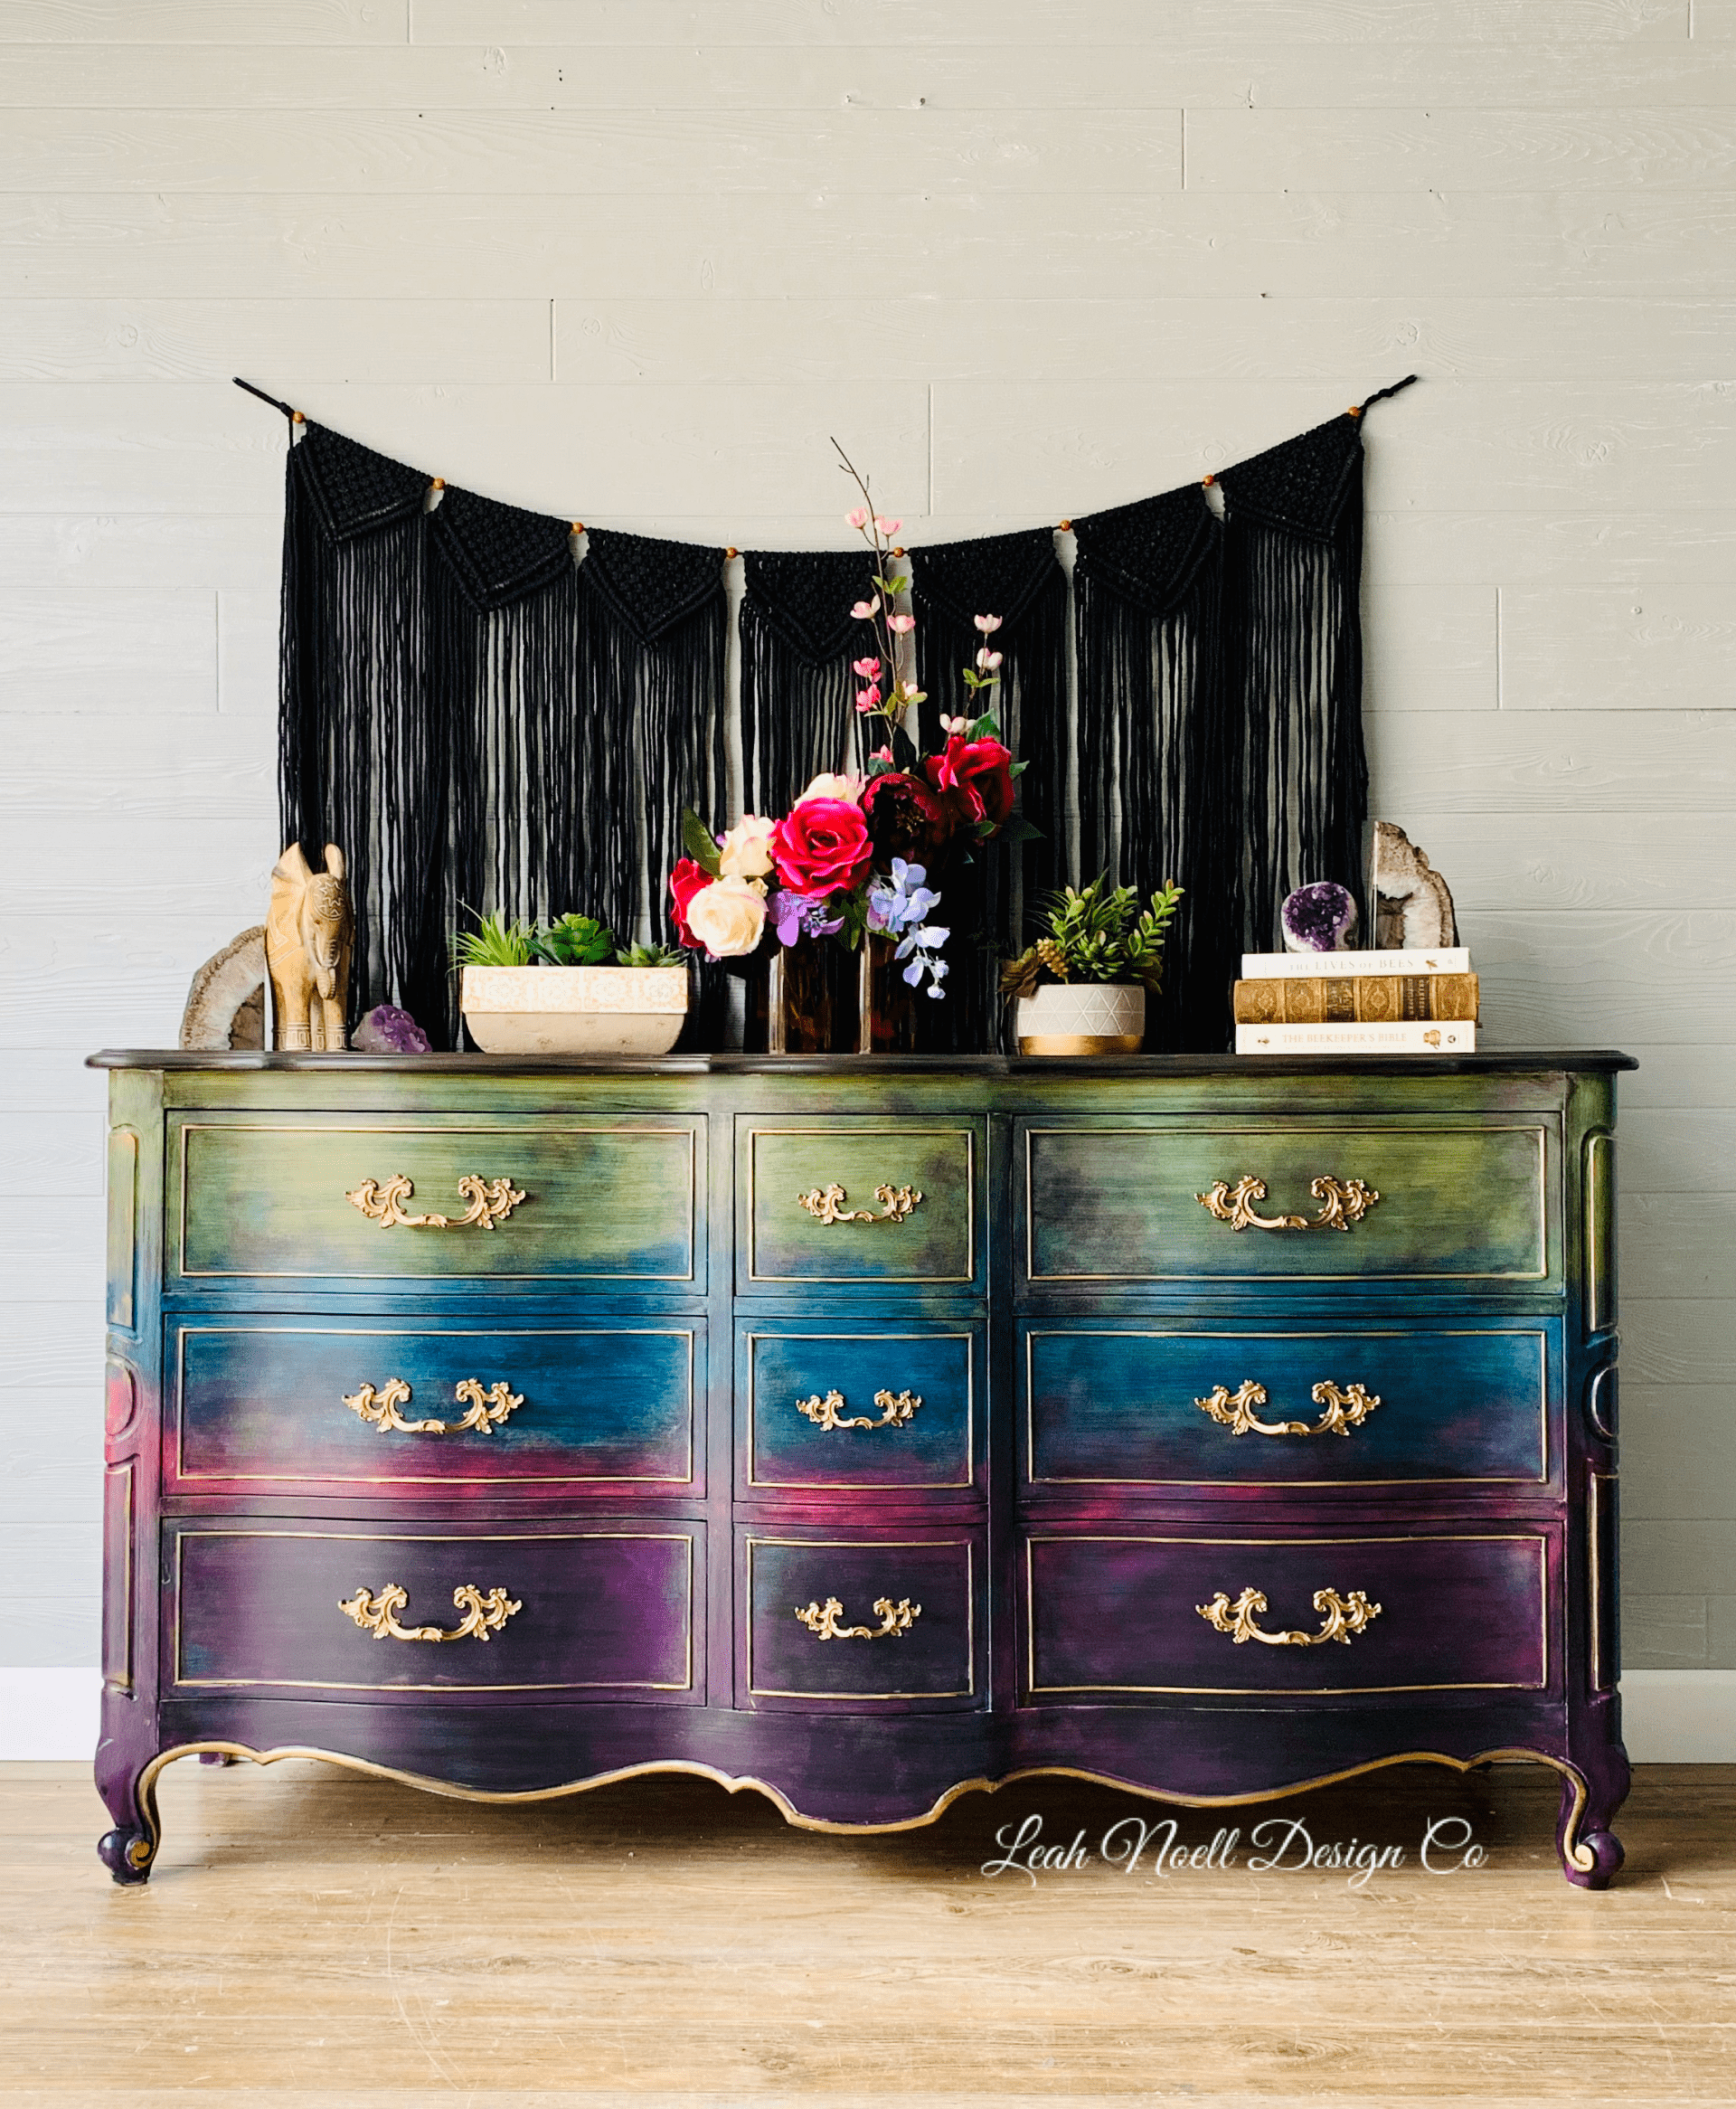
Some pieces just make my heart  pump a little more than others. This is one of those pieces. This dresser sat in my shop for TWO YEARS!! Yes, two whole years before the vision came to me. It was totally worth the wait!!
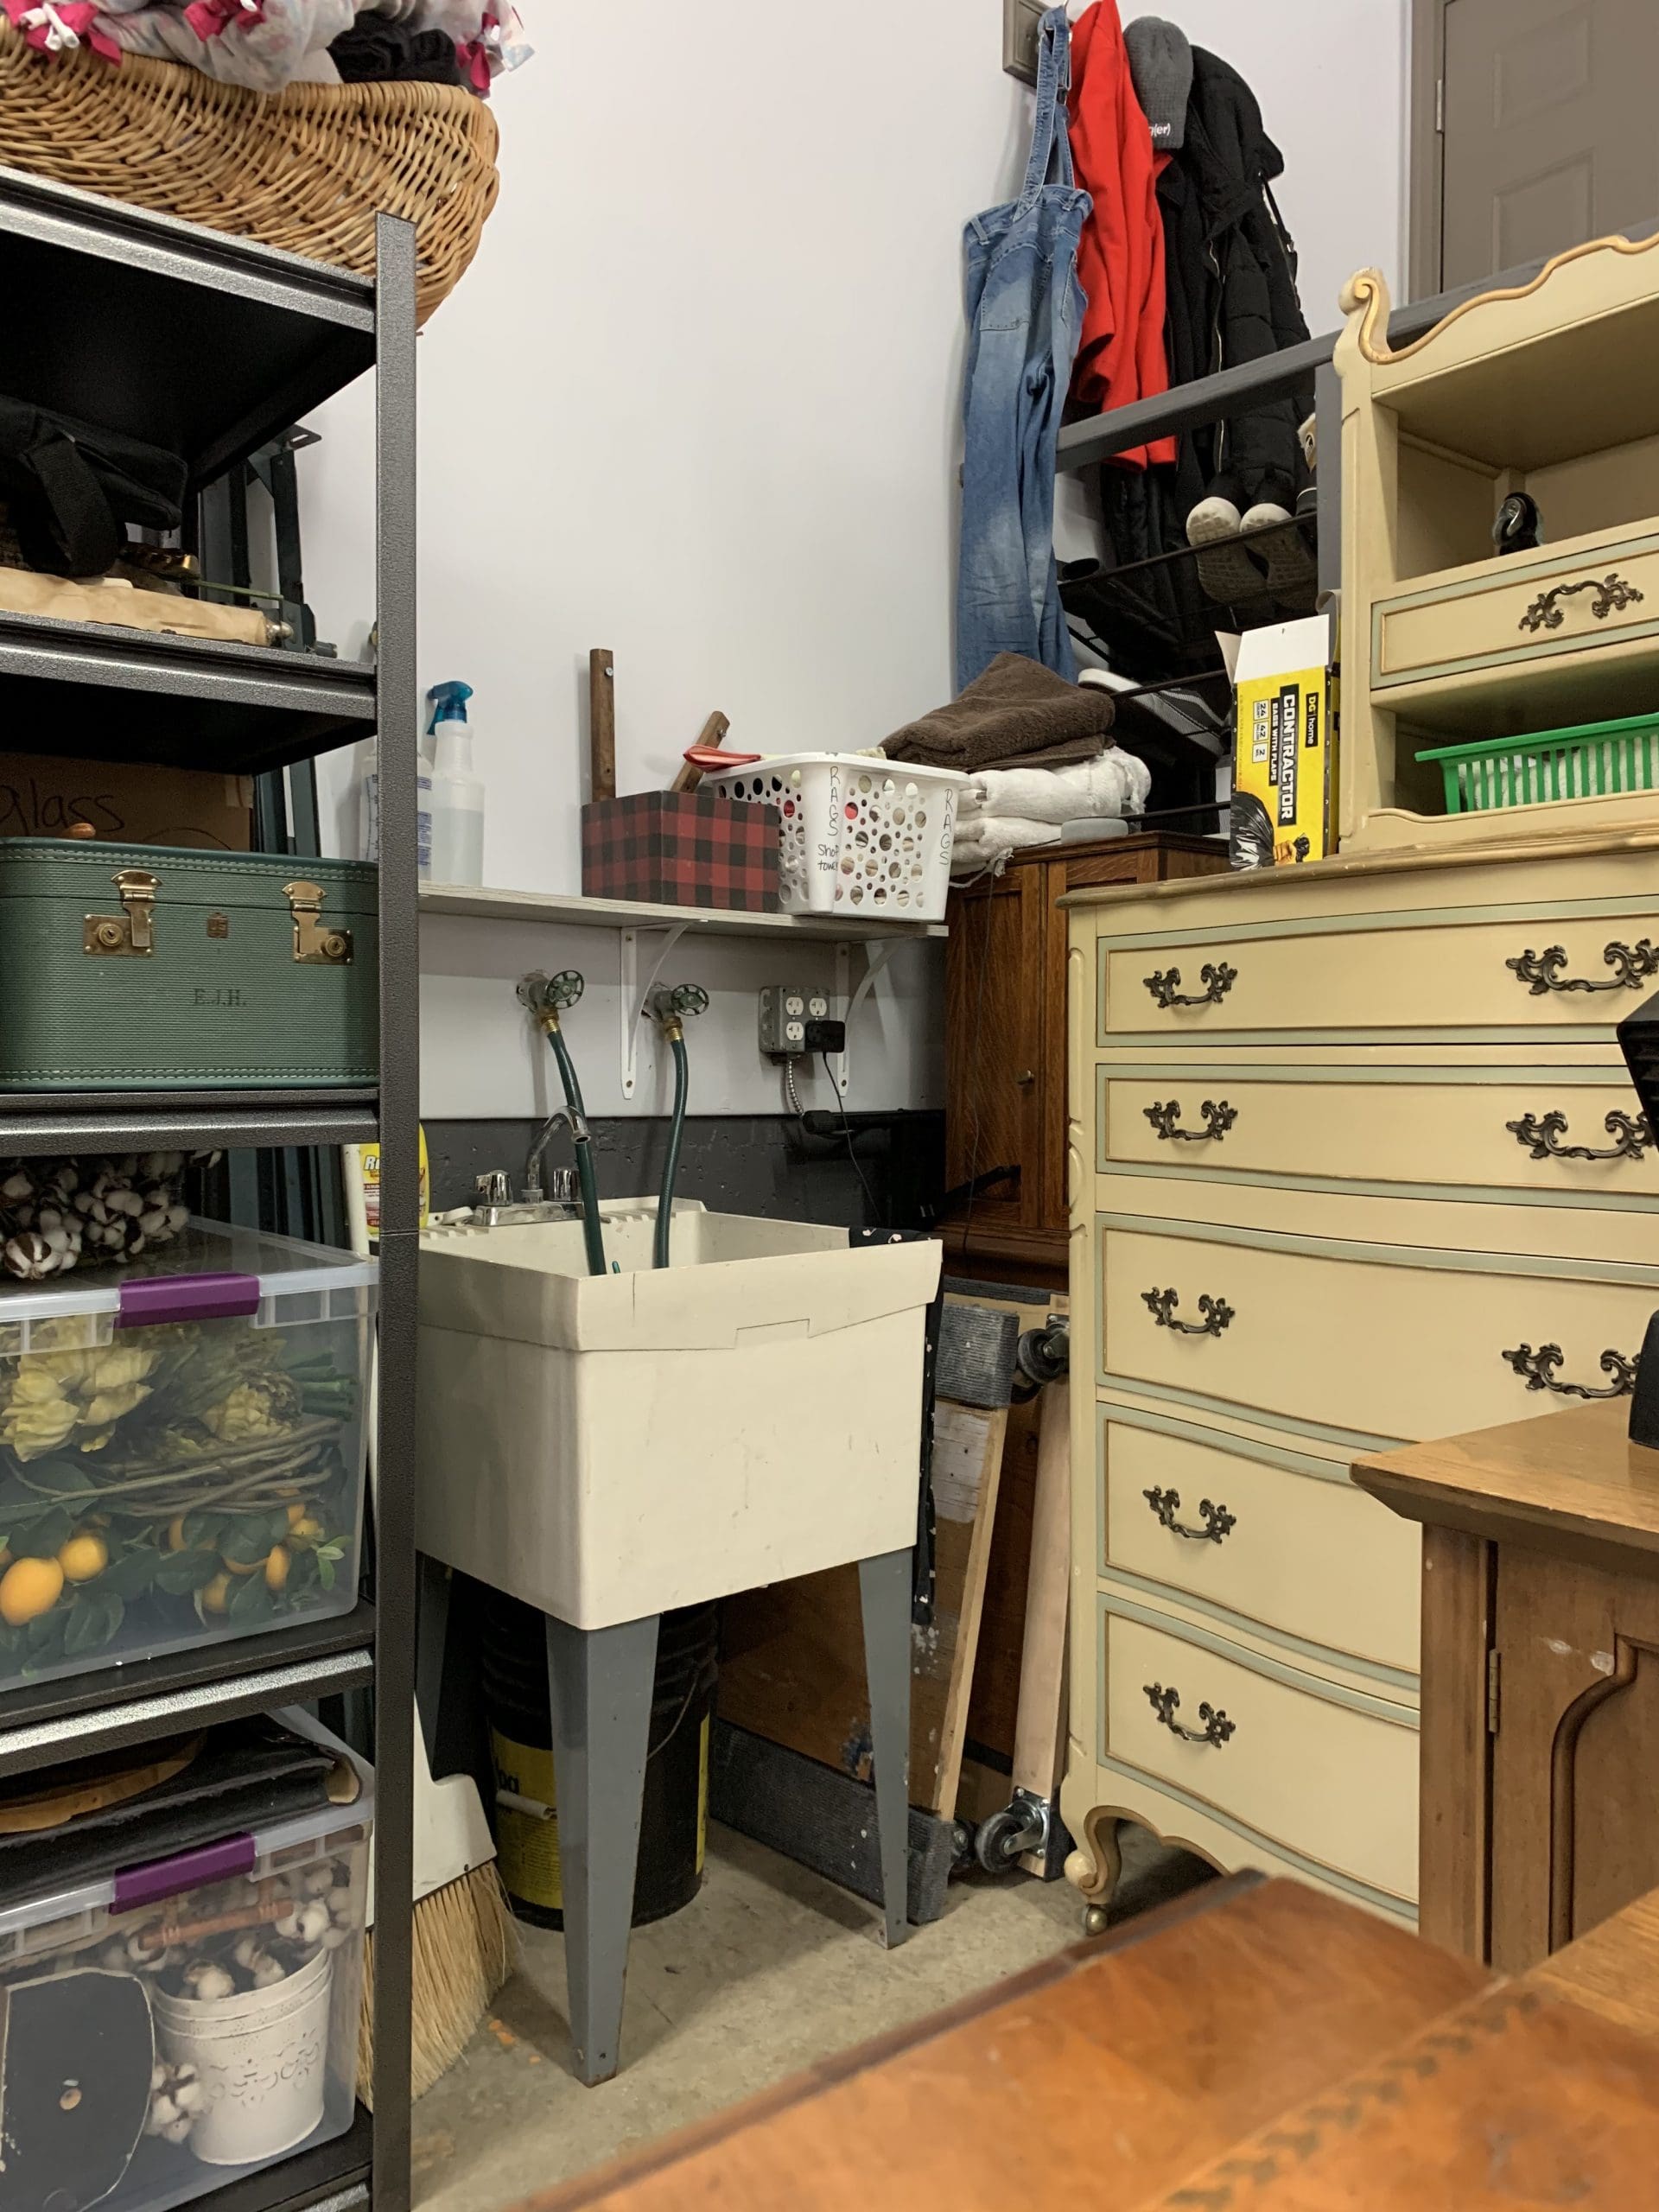
Even though I had this dresser for 2 years, I never took a good before photo! Can you believe that? We purchased this set on a cold February night and it had several other pieces with it. (I did split the set up. I’ll add photos of the other finished pieces at the end of this blog.) If I don’t get a photo when it comes in usually I don’t get one at all! This one even made it through the move!
*This post contains affiliate links. You don’t pay any more from ordering from these links but I earn a small commission so I can continue to bring you more fun projects! They also allow me to show you exactly what I use so you know what I’m referring to! *
We did every concept of this piece start to finish together live on Tuesday evenings. I’ll give you a run down of the colors & products used, and I’ll link the videos below for you to view!
Paint Colors:
Products:
Vinegar
To Start, this piece had flaking paint. I tested it for lead using this lead test kit. It came back negative! I scrapped back as much of the old yellow finish as I could and sanded it to get rid of any more of the flaking finish. You don’t want to paint over a loose finish because your paint will flake right off with the old finish. Then I sprayed a coat of slick stick on it with my Apollo Sprayer. I usually use Slick Stick on all pieces with a factory finish.
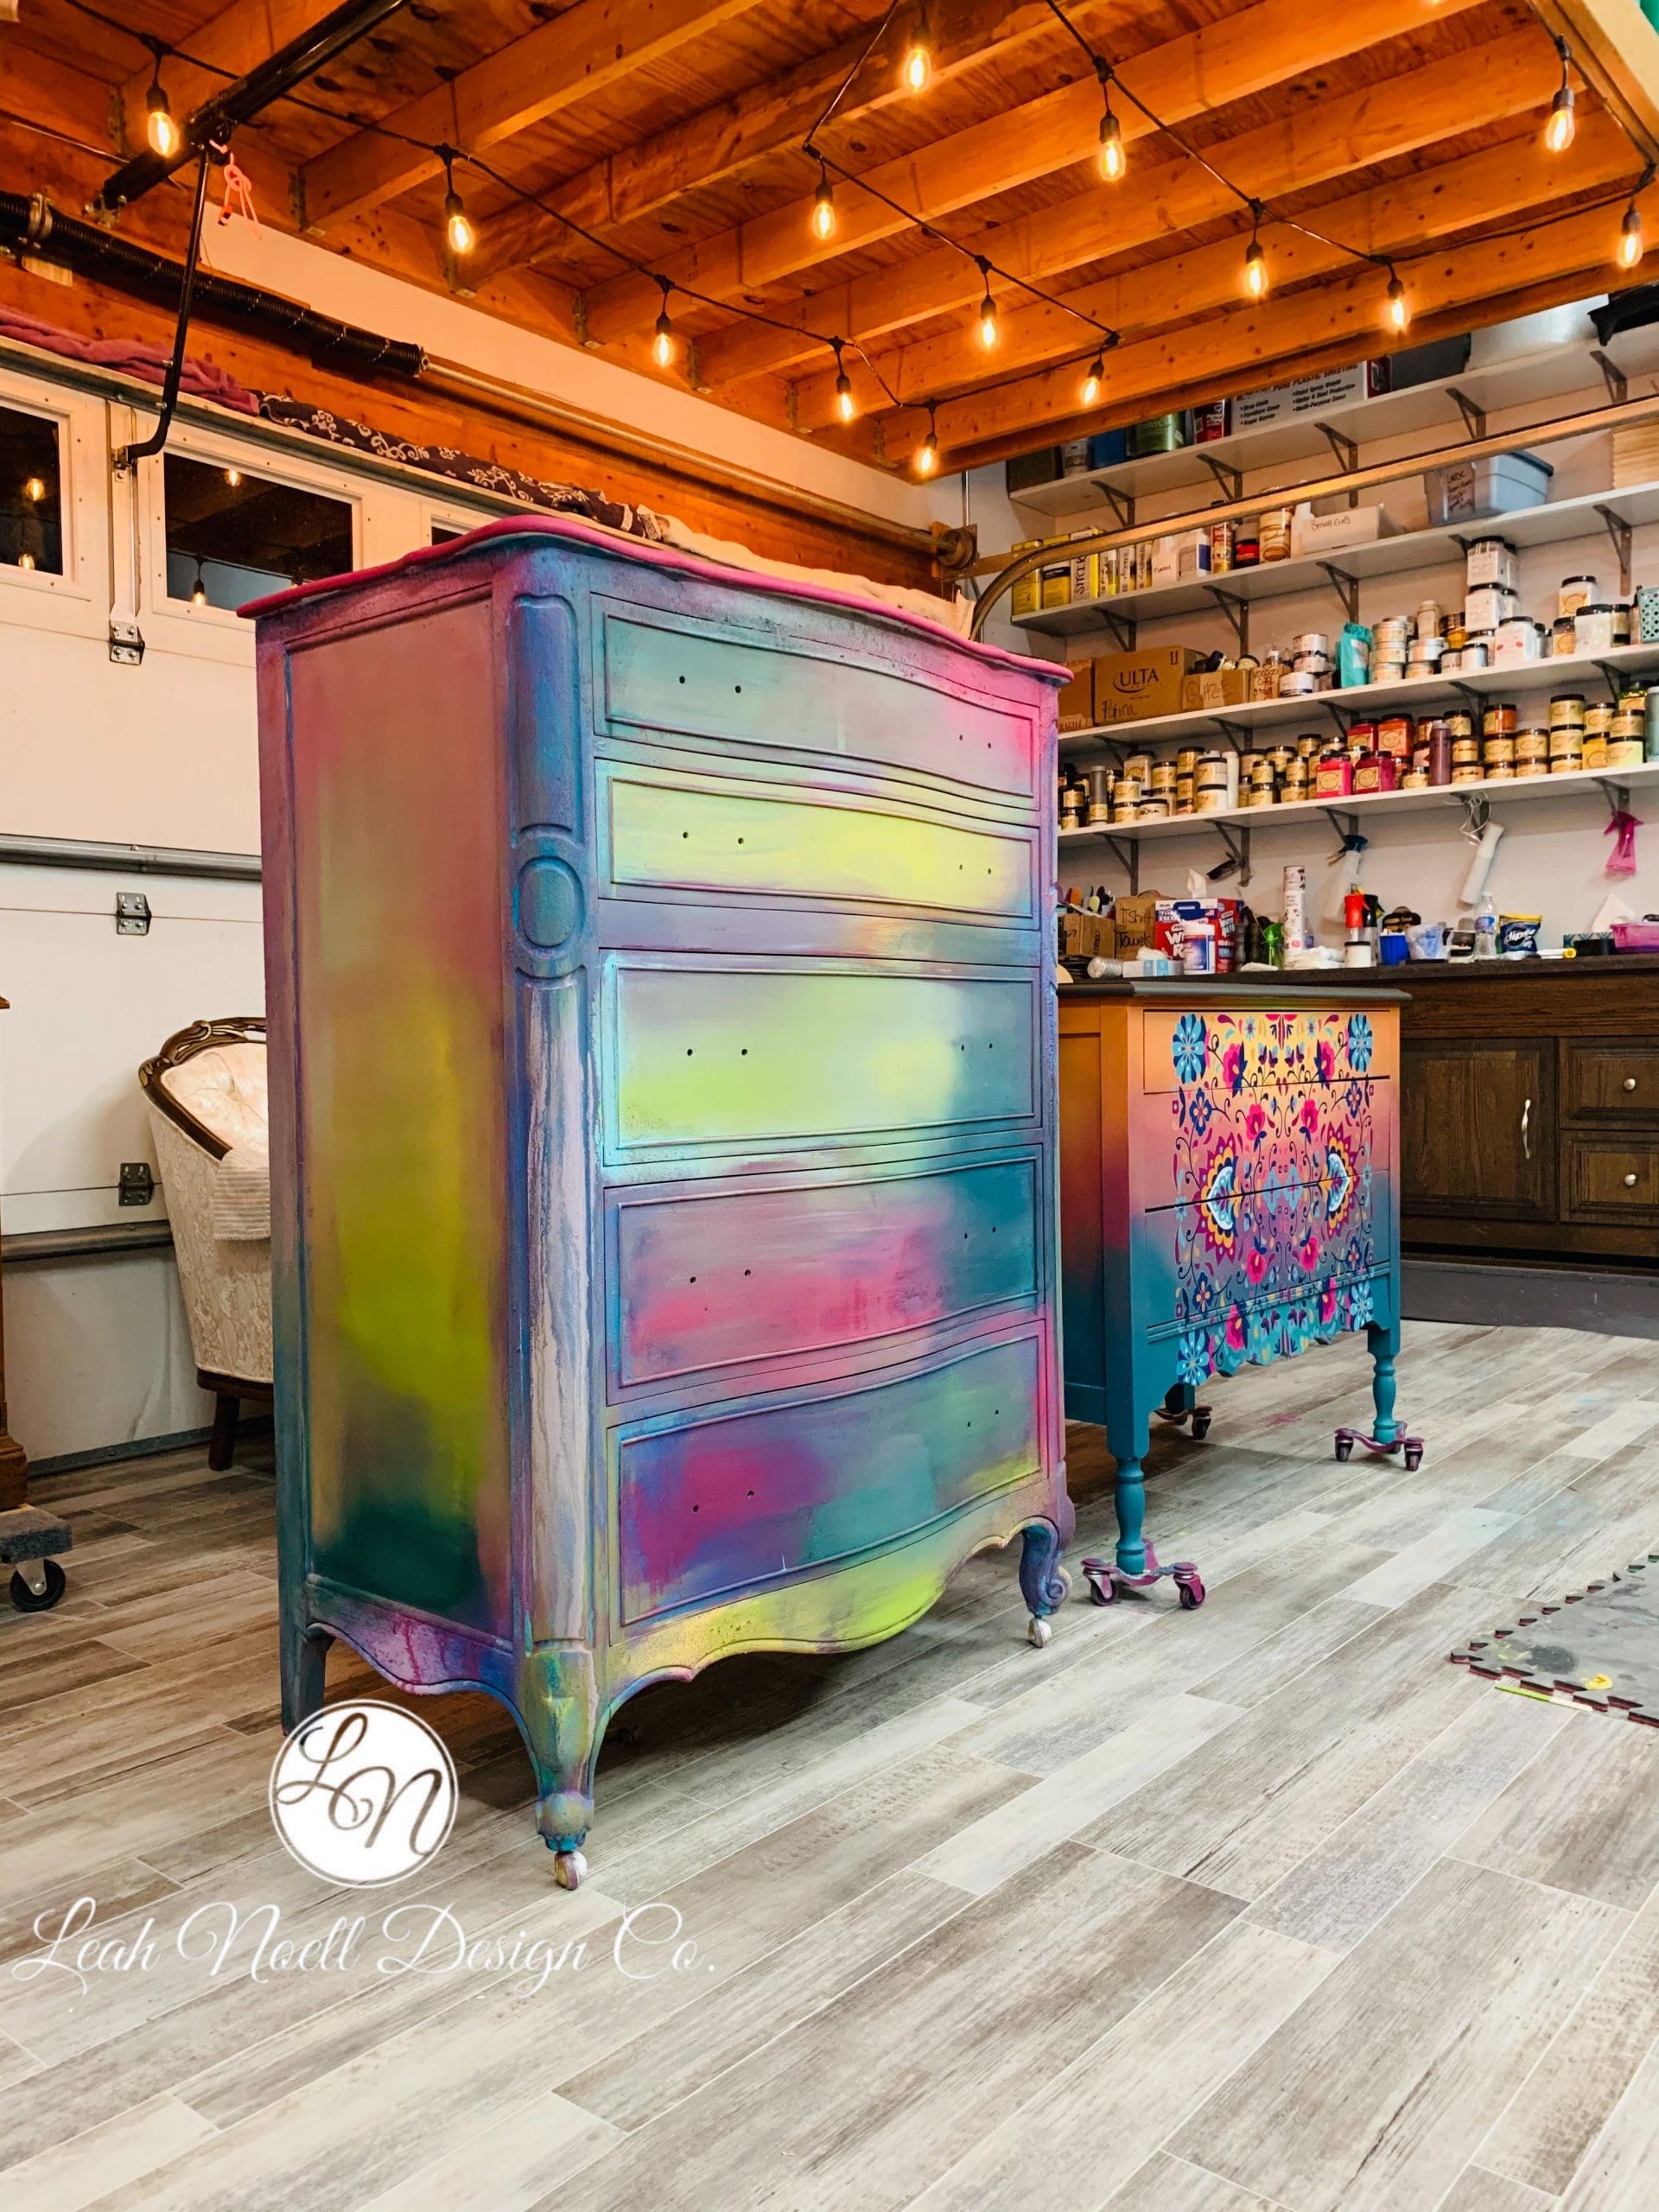
My next step was to apply the first of many layers of paint. I began with my deepest colors for the first layer. I used Abergine, Bunker Hill Blue, Antebellum Blue, and Blueberry. I started at the bottom with the darker colors and worked my way up to the top.
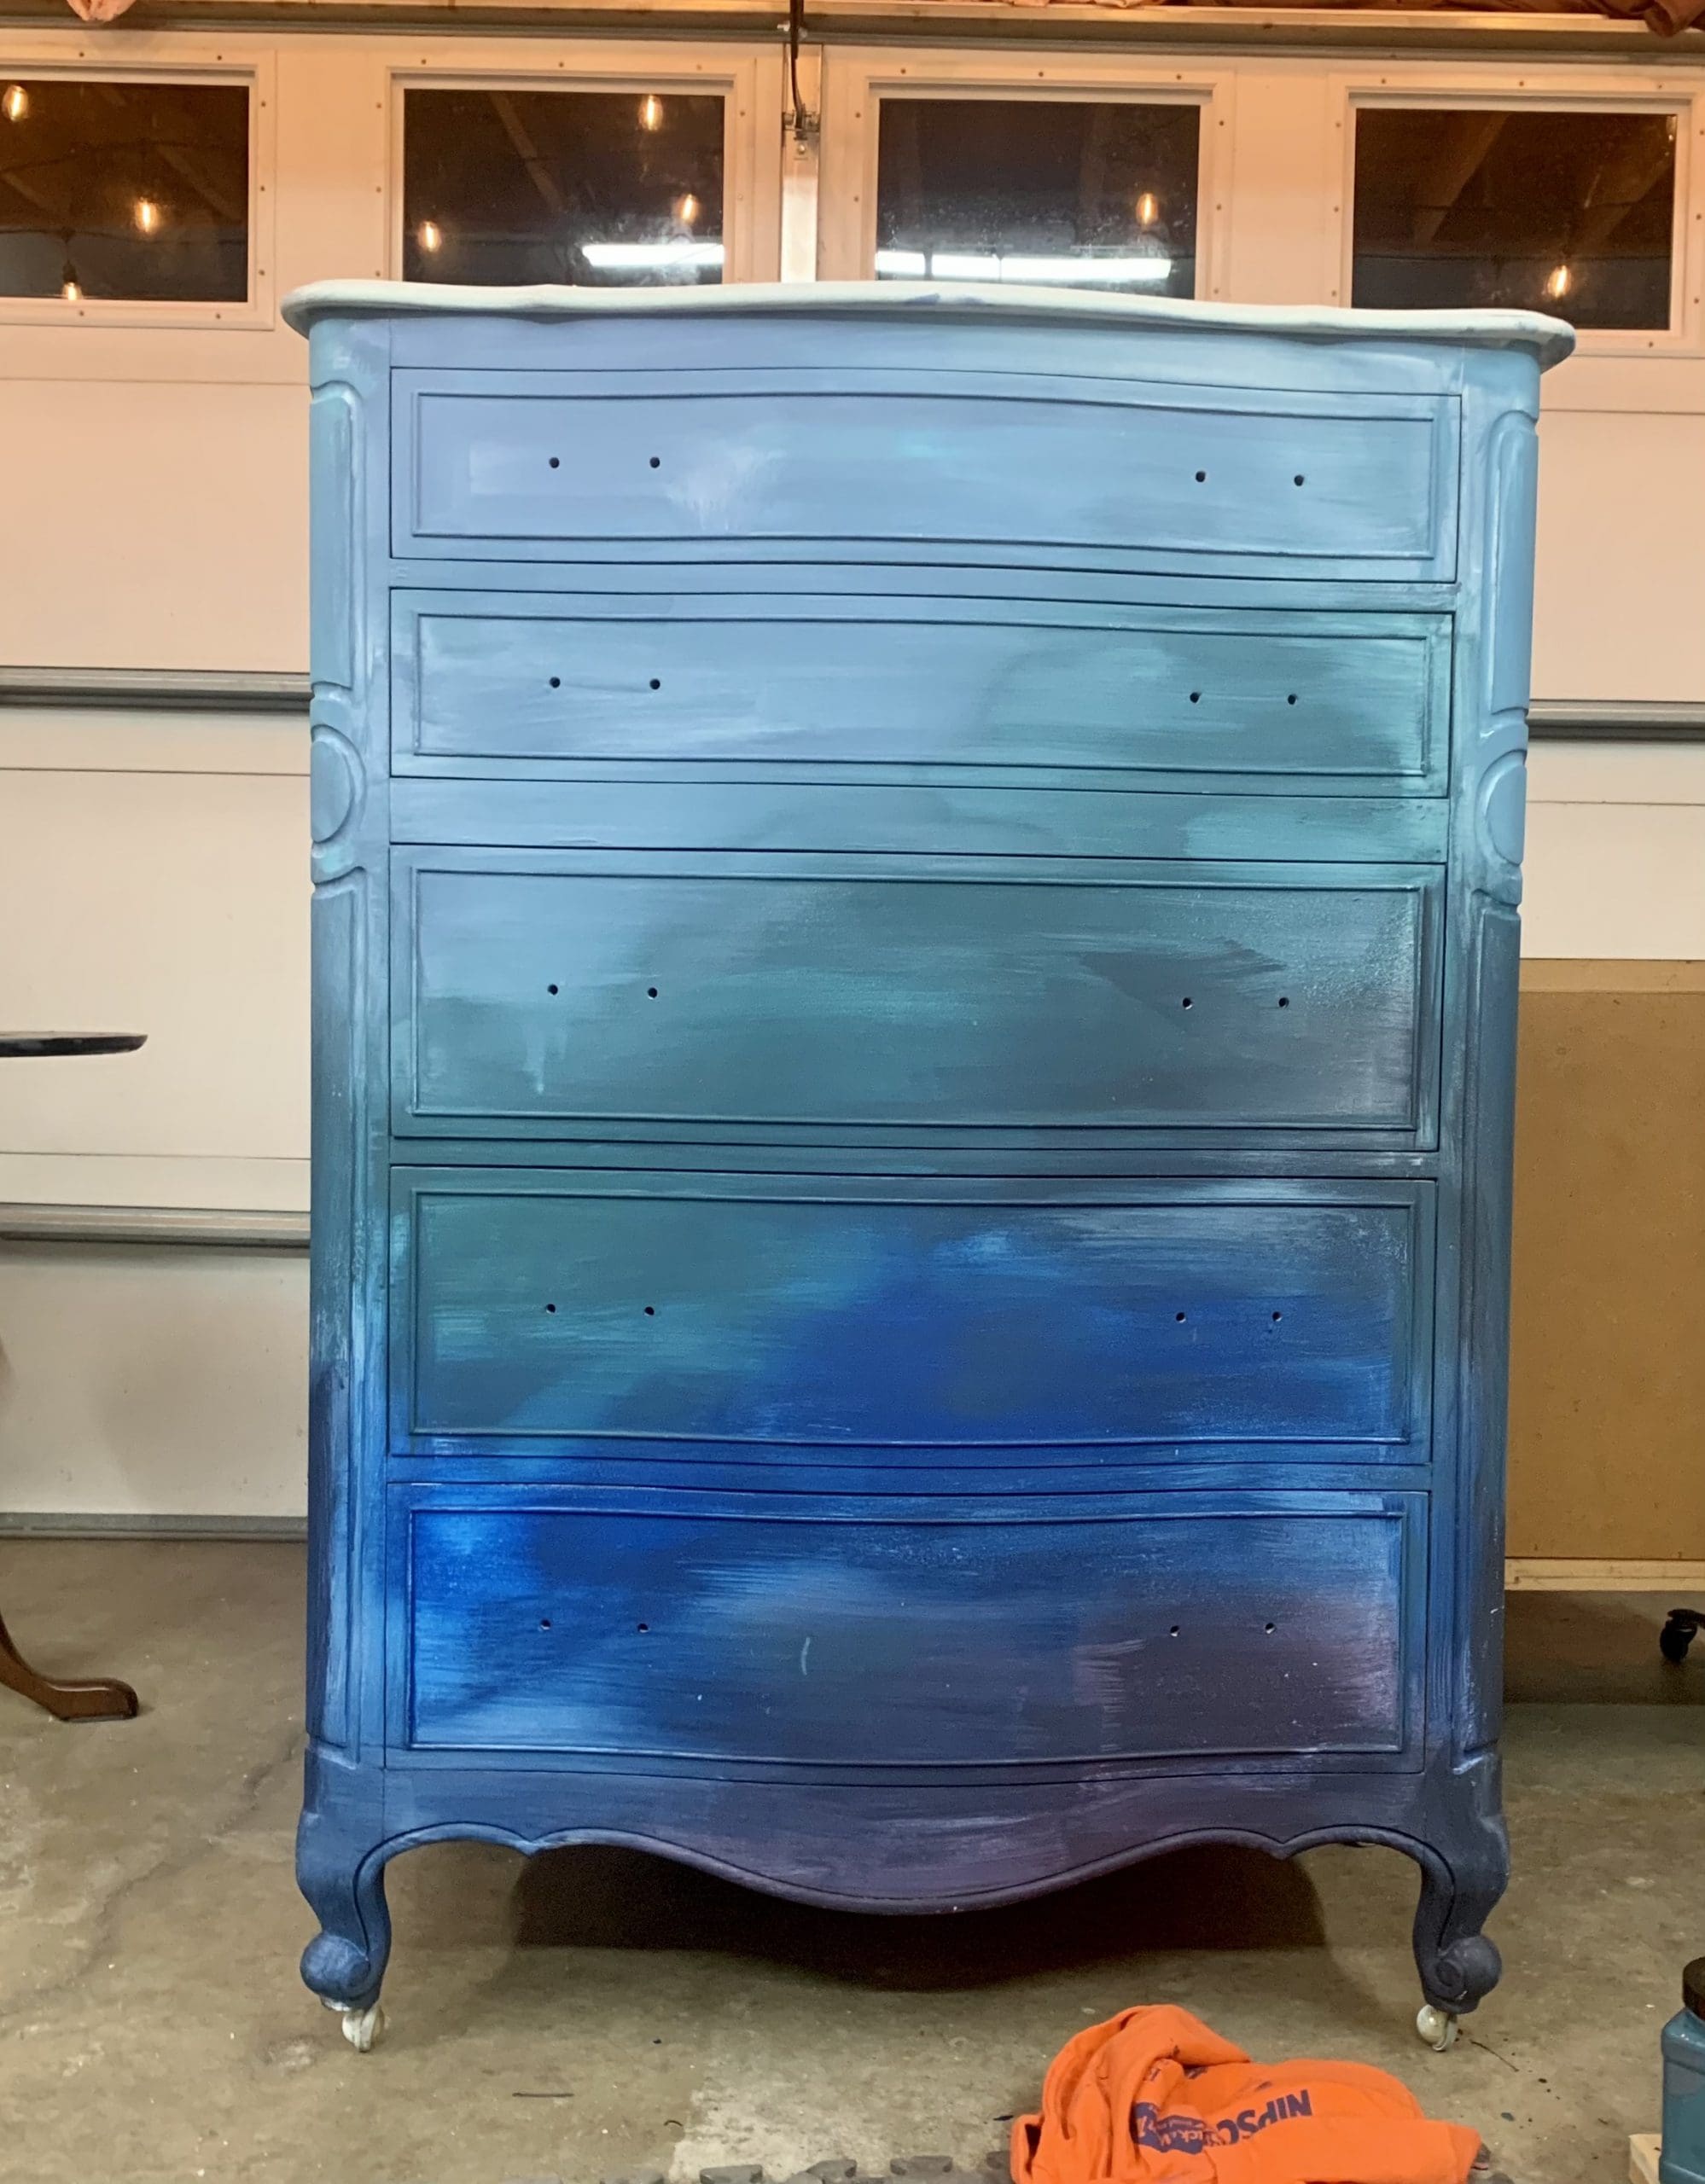
Next I mixed sea spray with I believe Dixie Belle Blue. In all honesty, with the sea spray it doesn’t matter what color you use. Any blue will work! It will be covered up anyway. I applied it to the edges and corners. The point of the Sea Spray is to add texture so your paint has something to stick to when your creating layers with paint, wax, and Dixie Dirt.
I went in with my next layer of paint. This one is much more colorful and I used a lot of water while blending it. I applied this colorful layer 2 times while keeping a nice blend between colors. This is easy because you don’t need a perfect blend here. Just make sure it doesn’t look choppy.

This is what it looks like before we go in with our vinegar paint wash.
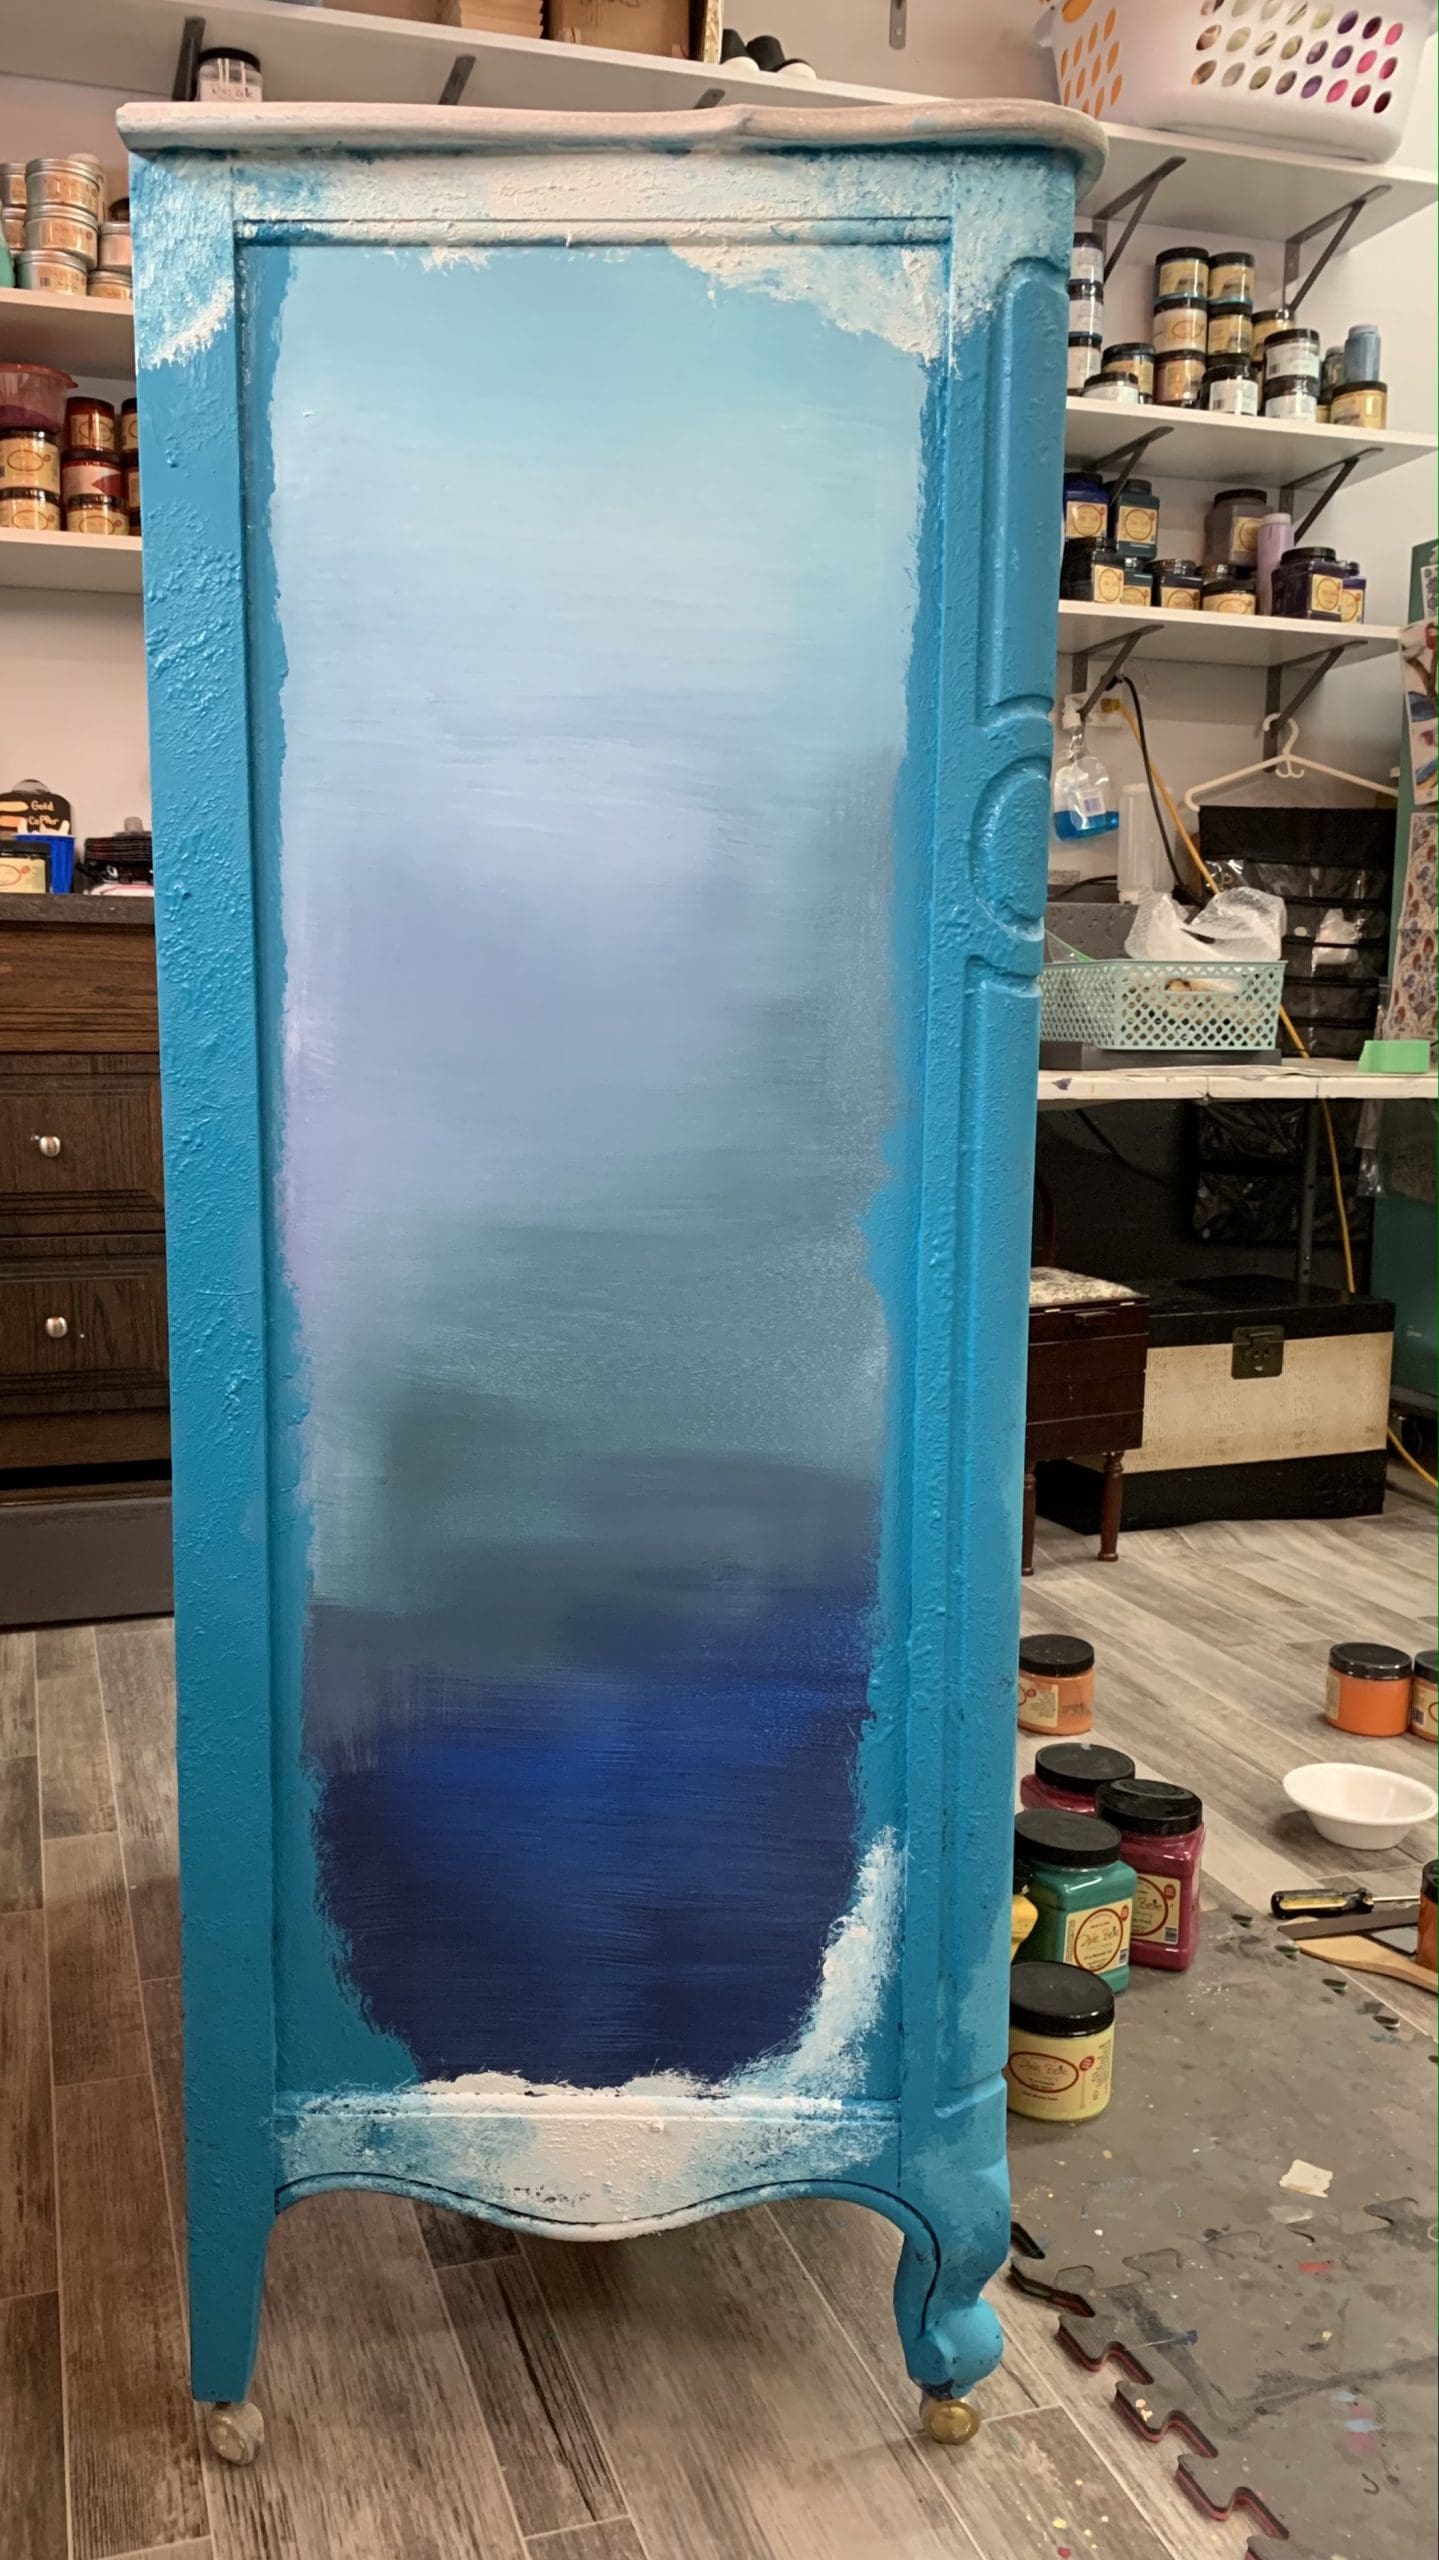
Next up is the secret sauce…. The Vinegar paint wash. I mix about a half cup vinegar, 2 spoon fulls of Fluff paint, and a fourth cup of water give or take. Then I use my brush to wash it over the piece. I use my spray mister to make the water move. Then I like to use a rag that has a bit of texture. Surgical Towels are my favorite for texture.
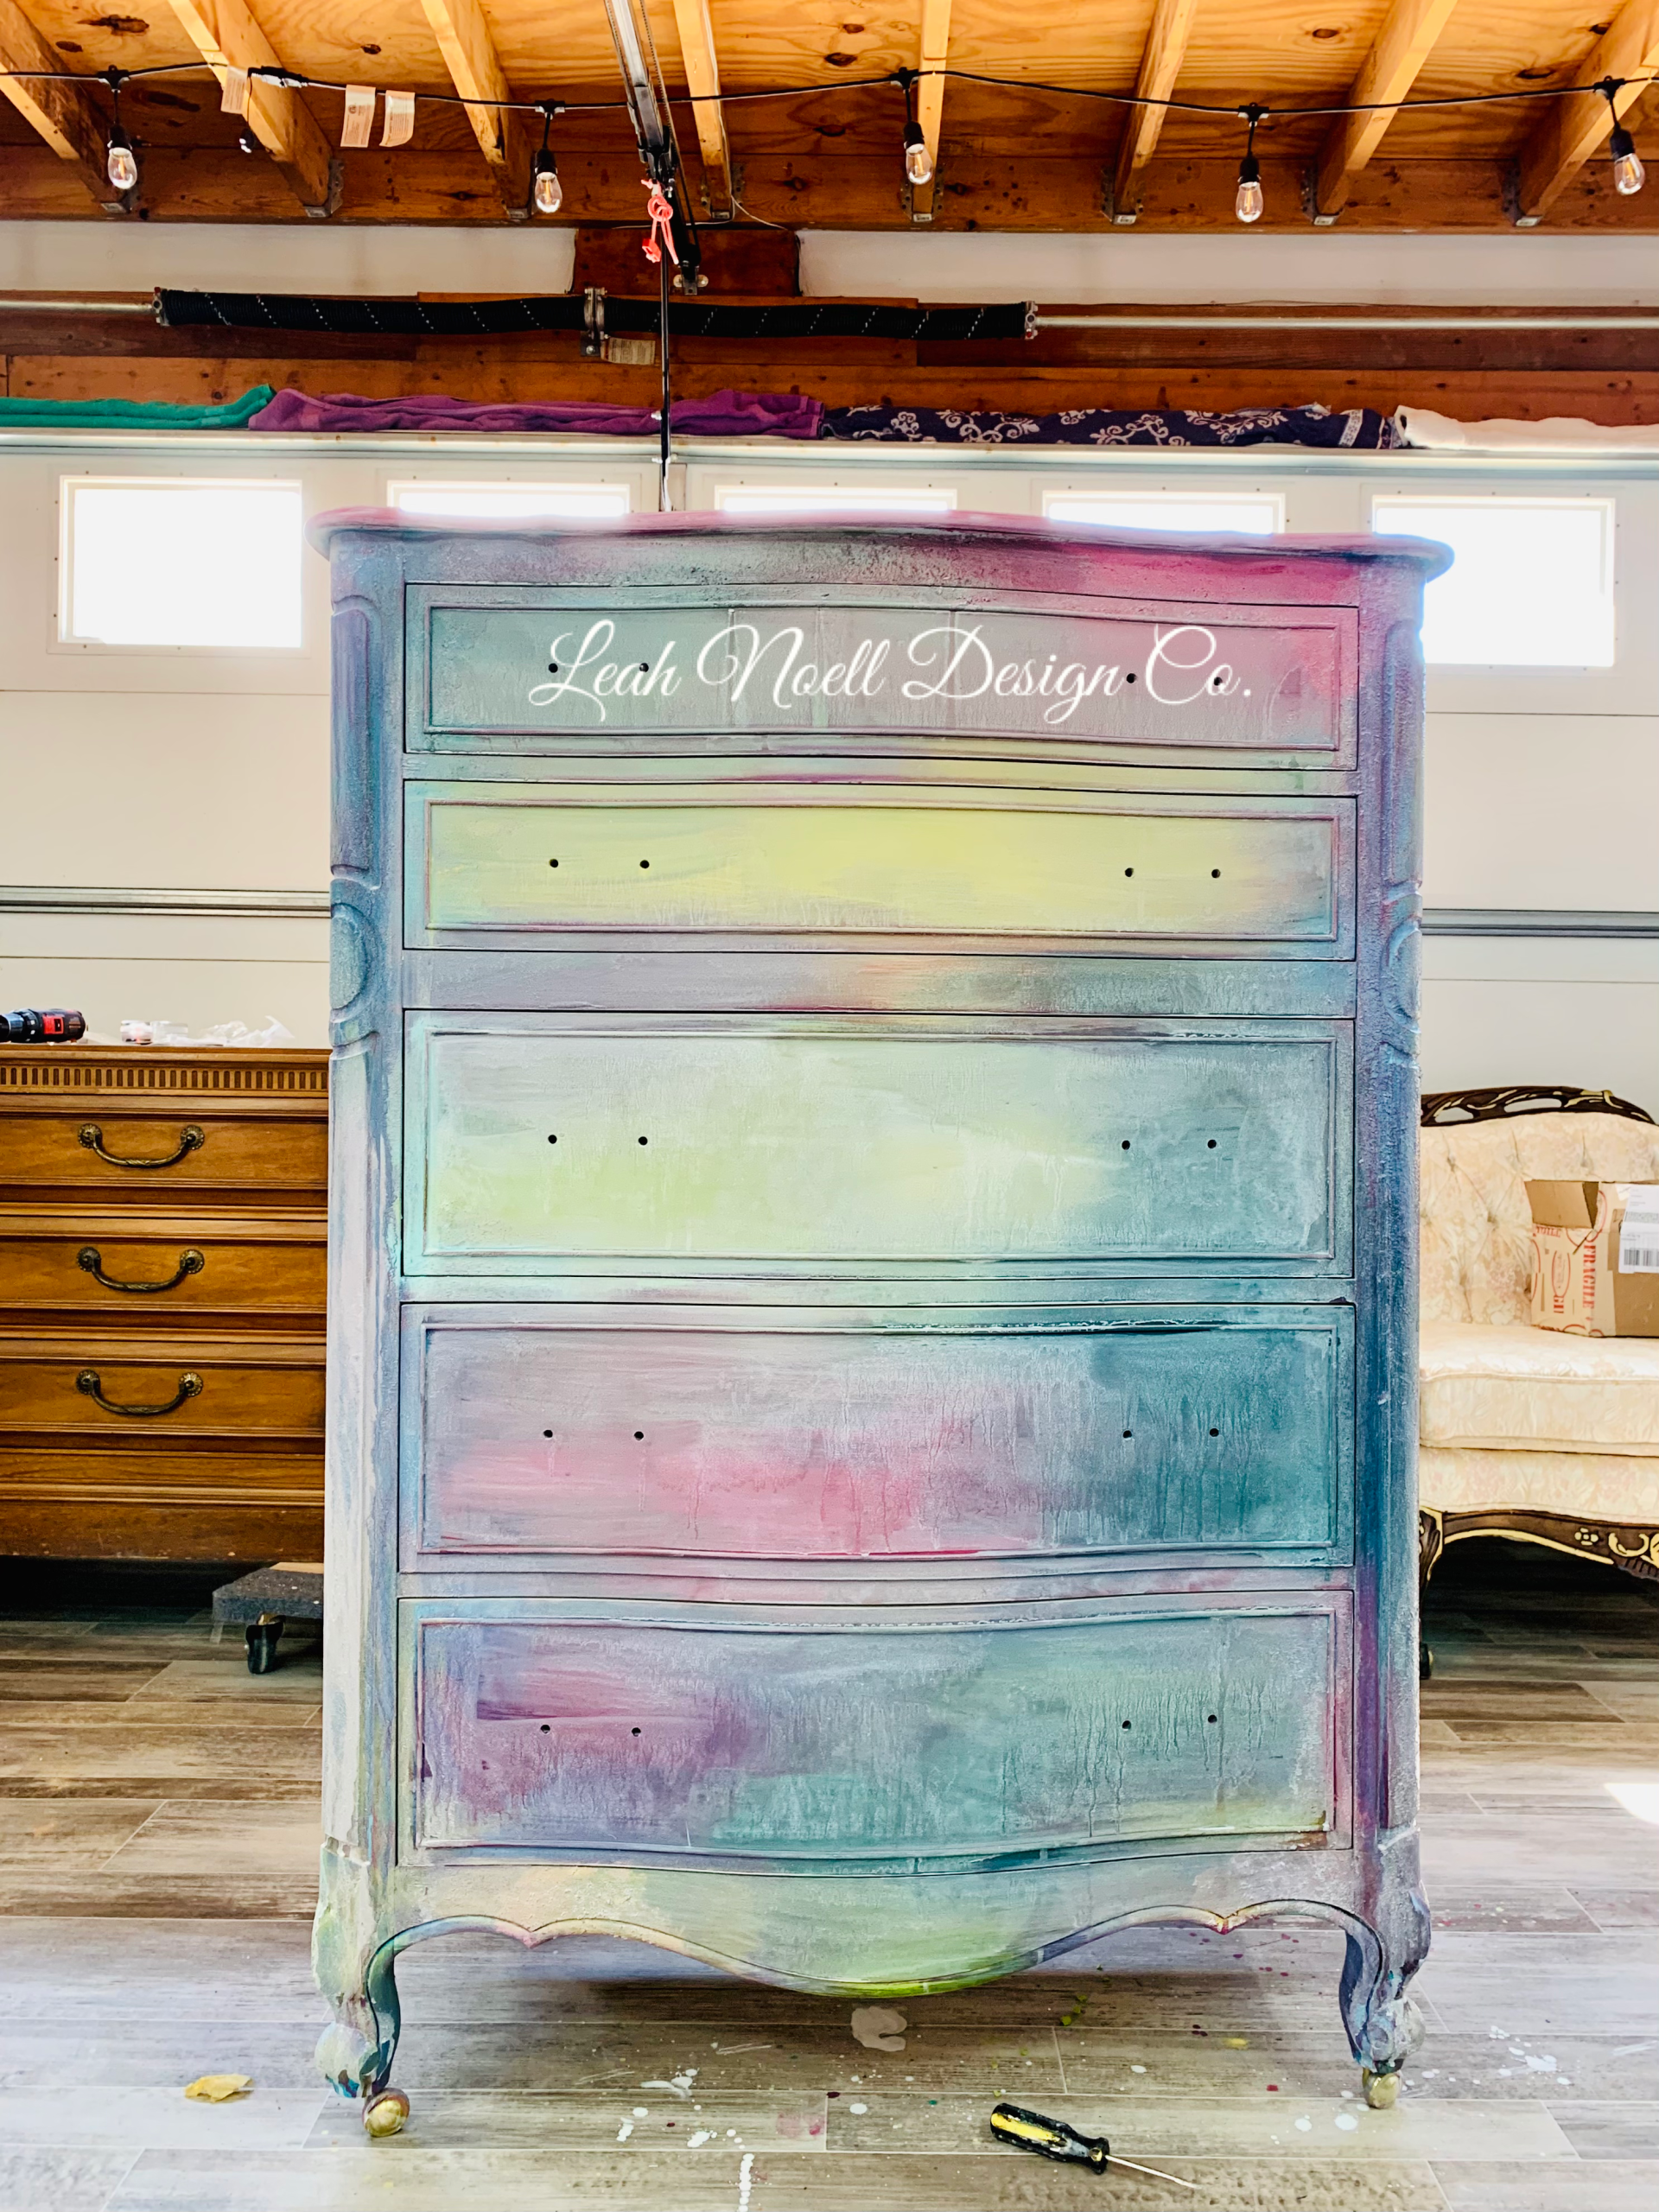
Isn’t it beautiful?? I could have stopped here but I decided to keep going. My mom said when I painted as a kid she would look over and I would have a beautiful painting. She would look back in a couple minutes and it would be mud. I would always go too far and ruin my masterpiece lol. I totally keep this in mind when I create!! This time I think it worked out for me.
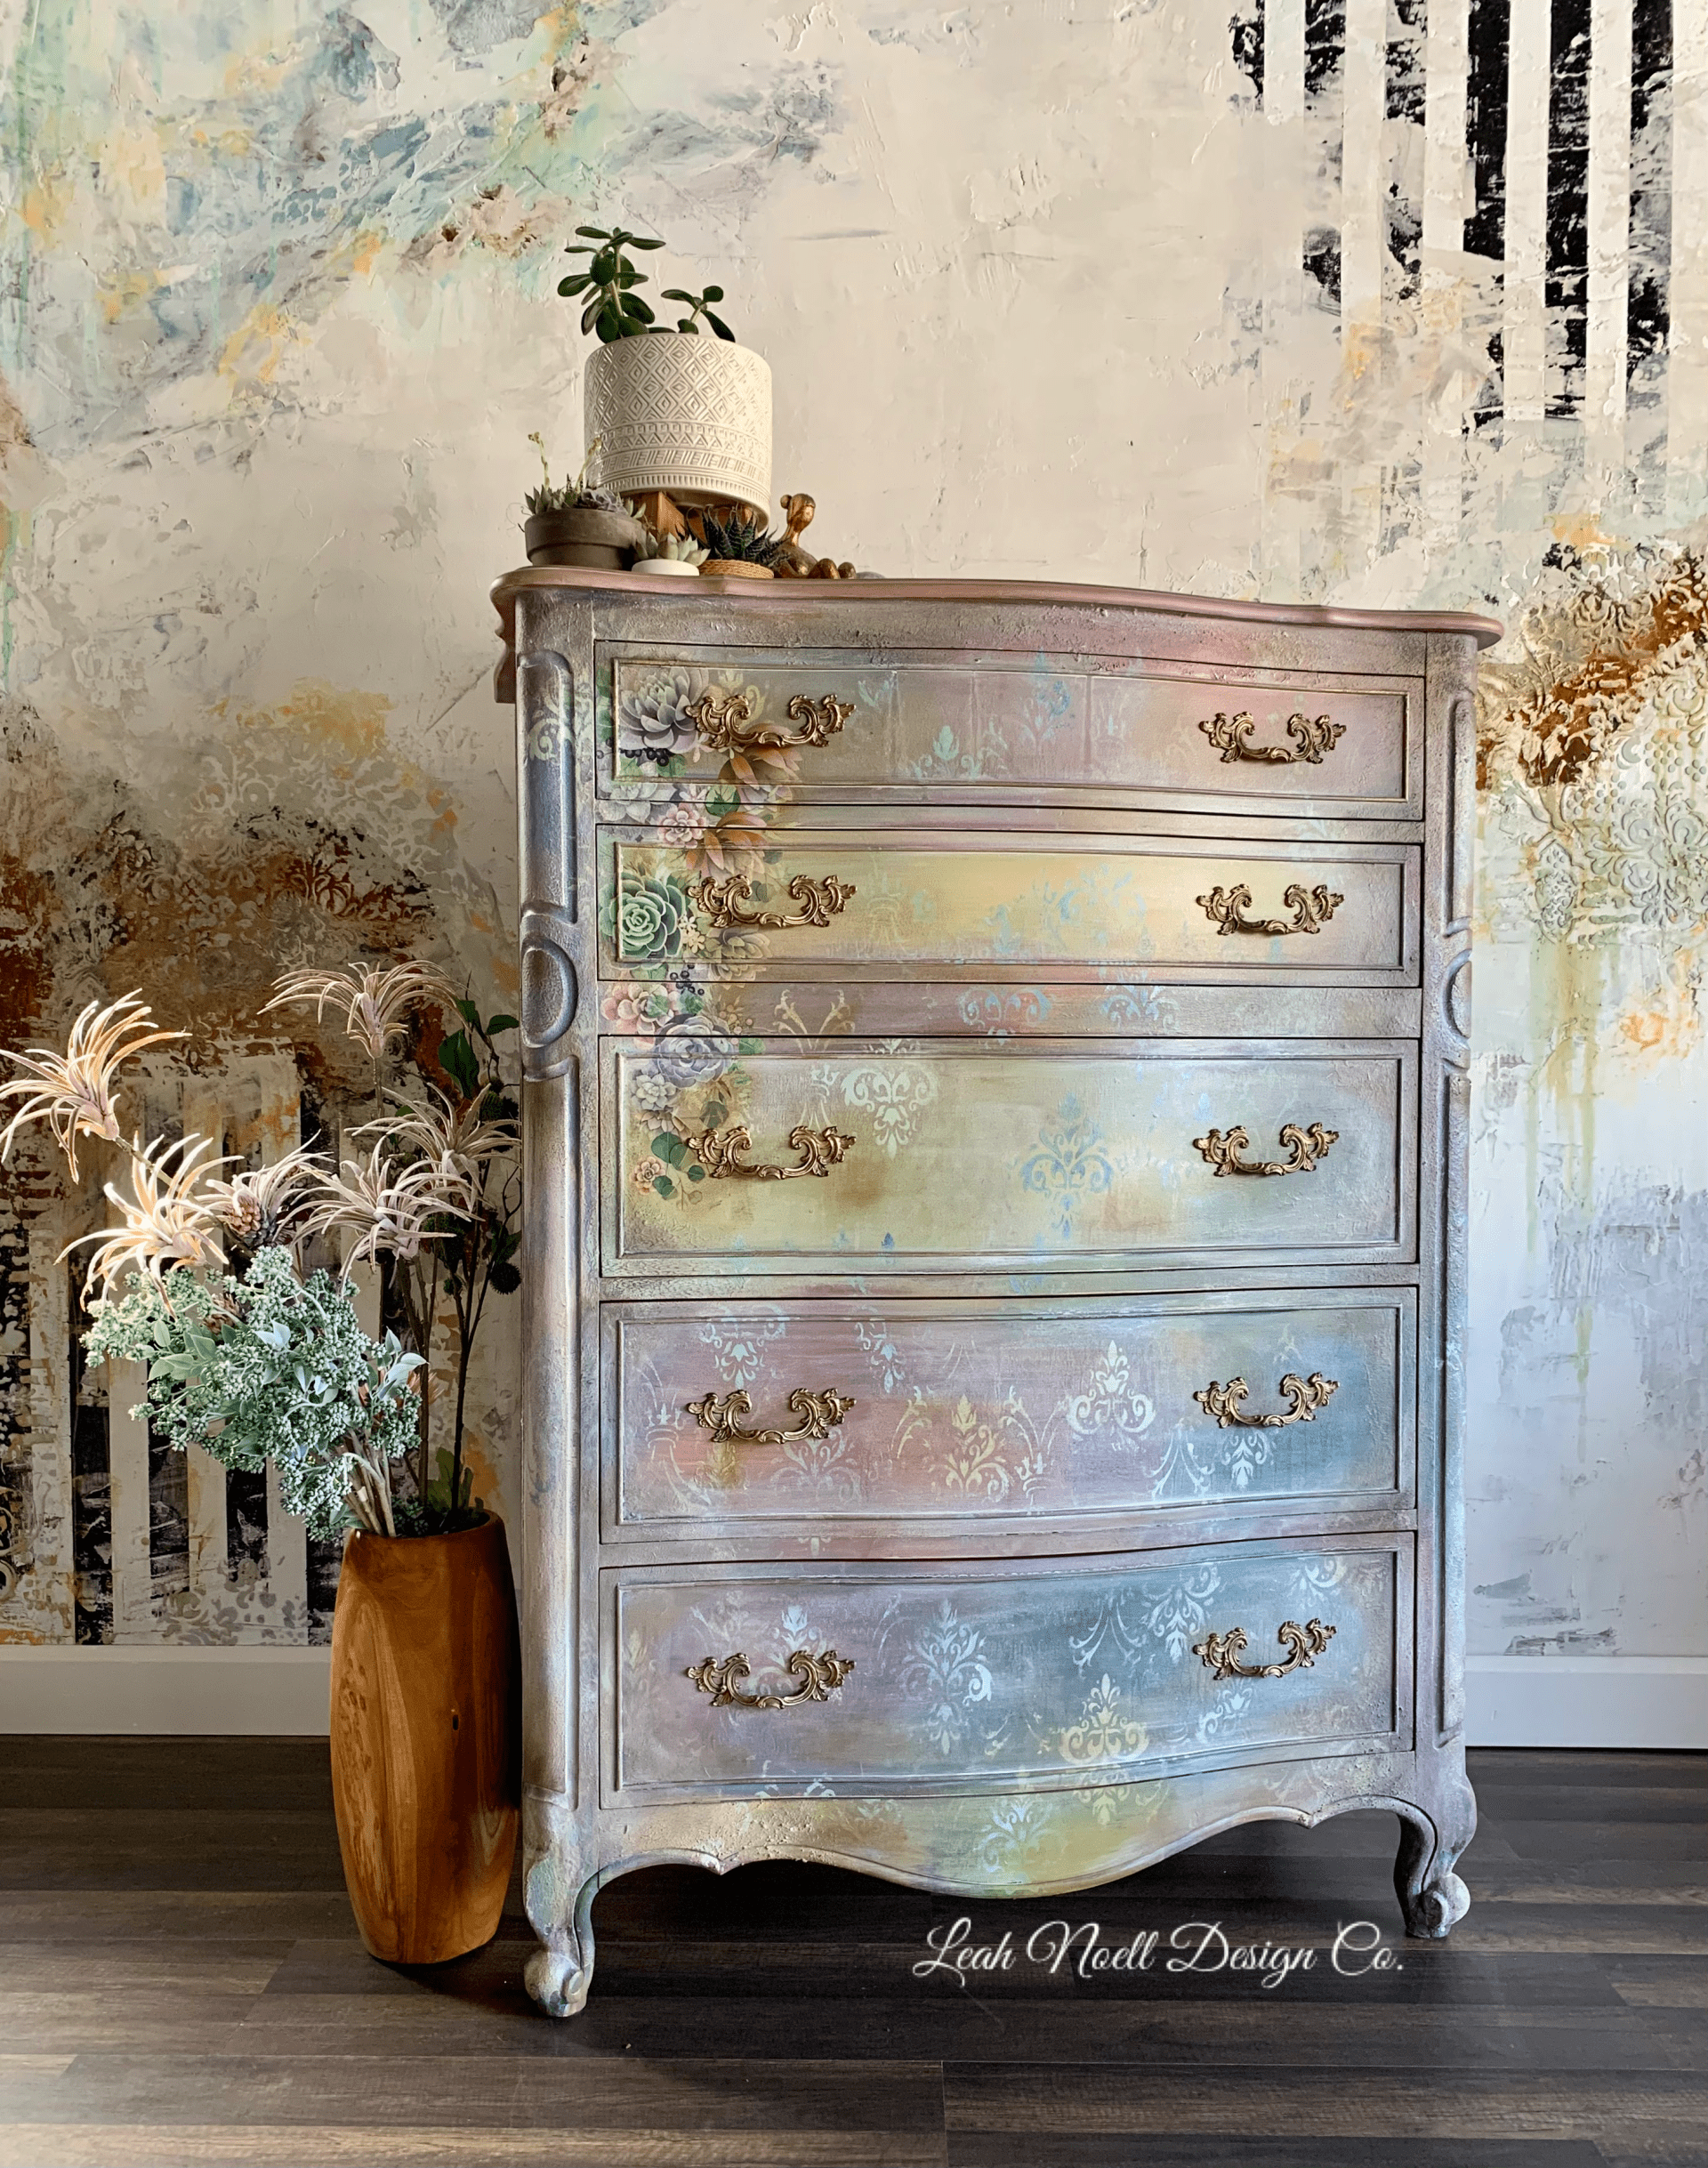
Time to Layer the decorative finish! First I used some light blues and whites to fade in the Royal Damask stencil all around this piece. Then I applied this buildable Succulent Transfer to the left side. Each succulent is individual so I was able to place them wherever I wanted! I used my absolute favorite finishing color, Pine Cone, to create a warm aged look. At this point I sealed it with Satin Clear Coat. My last layer was the waxes. I applied Best dang wax in white around the edges where I felt it needed it. Then I used clear wax and Dixie Dirt around the edges. I actually used too much on some parts so I used the clear wax once again to remove it. It was easy to remove since I had a layer of clear coat underneath. I let it dry for a few days and then sealed it with Gator Hide.
This piece is available!! You can view all the details here.
Oh!! Did you know?? I did all these concepts LIVE throughout the month of February. You can always join me live on Tuesday nights at 7:00 CST on my Facebook page.
See the Live videos here:Video 1:
https://www.facebook.com/DixieBellePaint/videos/787996941844678/Video 2:
https://www.facebook.com/DixieBellePaint/videos/241488400809049/Video 3:
https://www.facebook.com/leahnoelldesignco/videos/138484618057784/Video 4:
https://fb.watch/3XUYINeYNE/
https://www.facebook.com/DixieBellePaint/videos/787996941844678/Video 2:
https://www.facebook.com/DixieBellePaint/videos/241488400809049/Video 3:
https://www.facebook.com/leahnoelldesignco/videos/138484618057784/Video 4:
https://fb.watch/3XUYINeYNE/
Here is the sister dresser from this set I picked up. This piece lives in my daughters room!