You have no items in your cart.
Anyone else’s kids have an obsession with the 24 hour challenges on YouTube? They have all kinds of challenges like 24 hours in their car, 24 hours in a fort, or even 24 hours underwater!! As a mom many of these make me 🙄🙄🙄 especially when my kids want to do them! So I thought it would be fun to do a PRODUCTIVE 24 hour challenge and flip a full piece of furniture in just 24 hours!! I hope you’re more impressed with my challenge than my kids were!
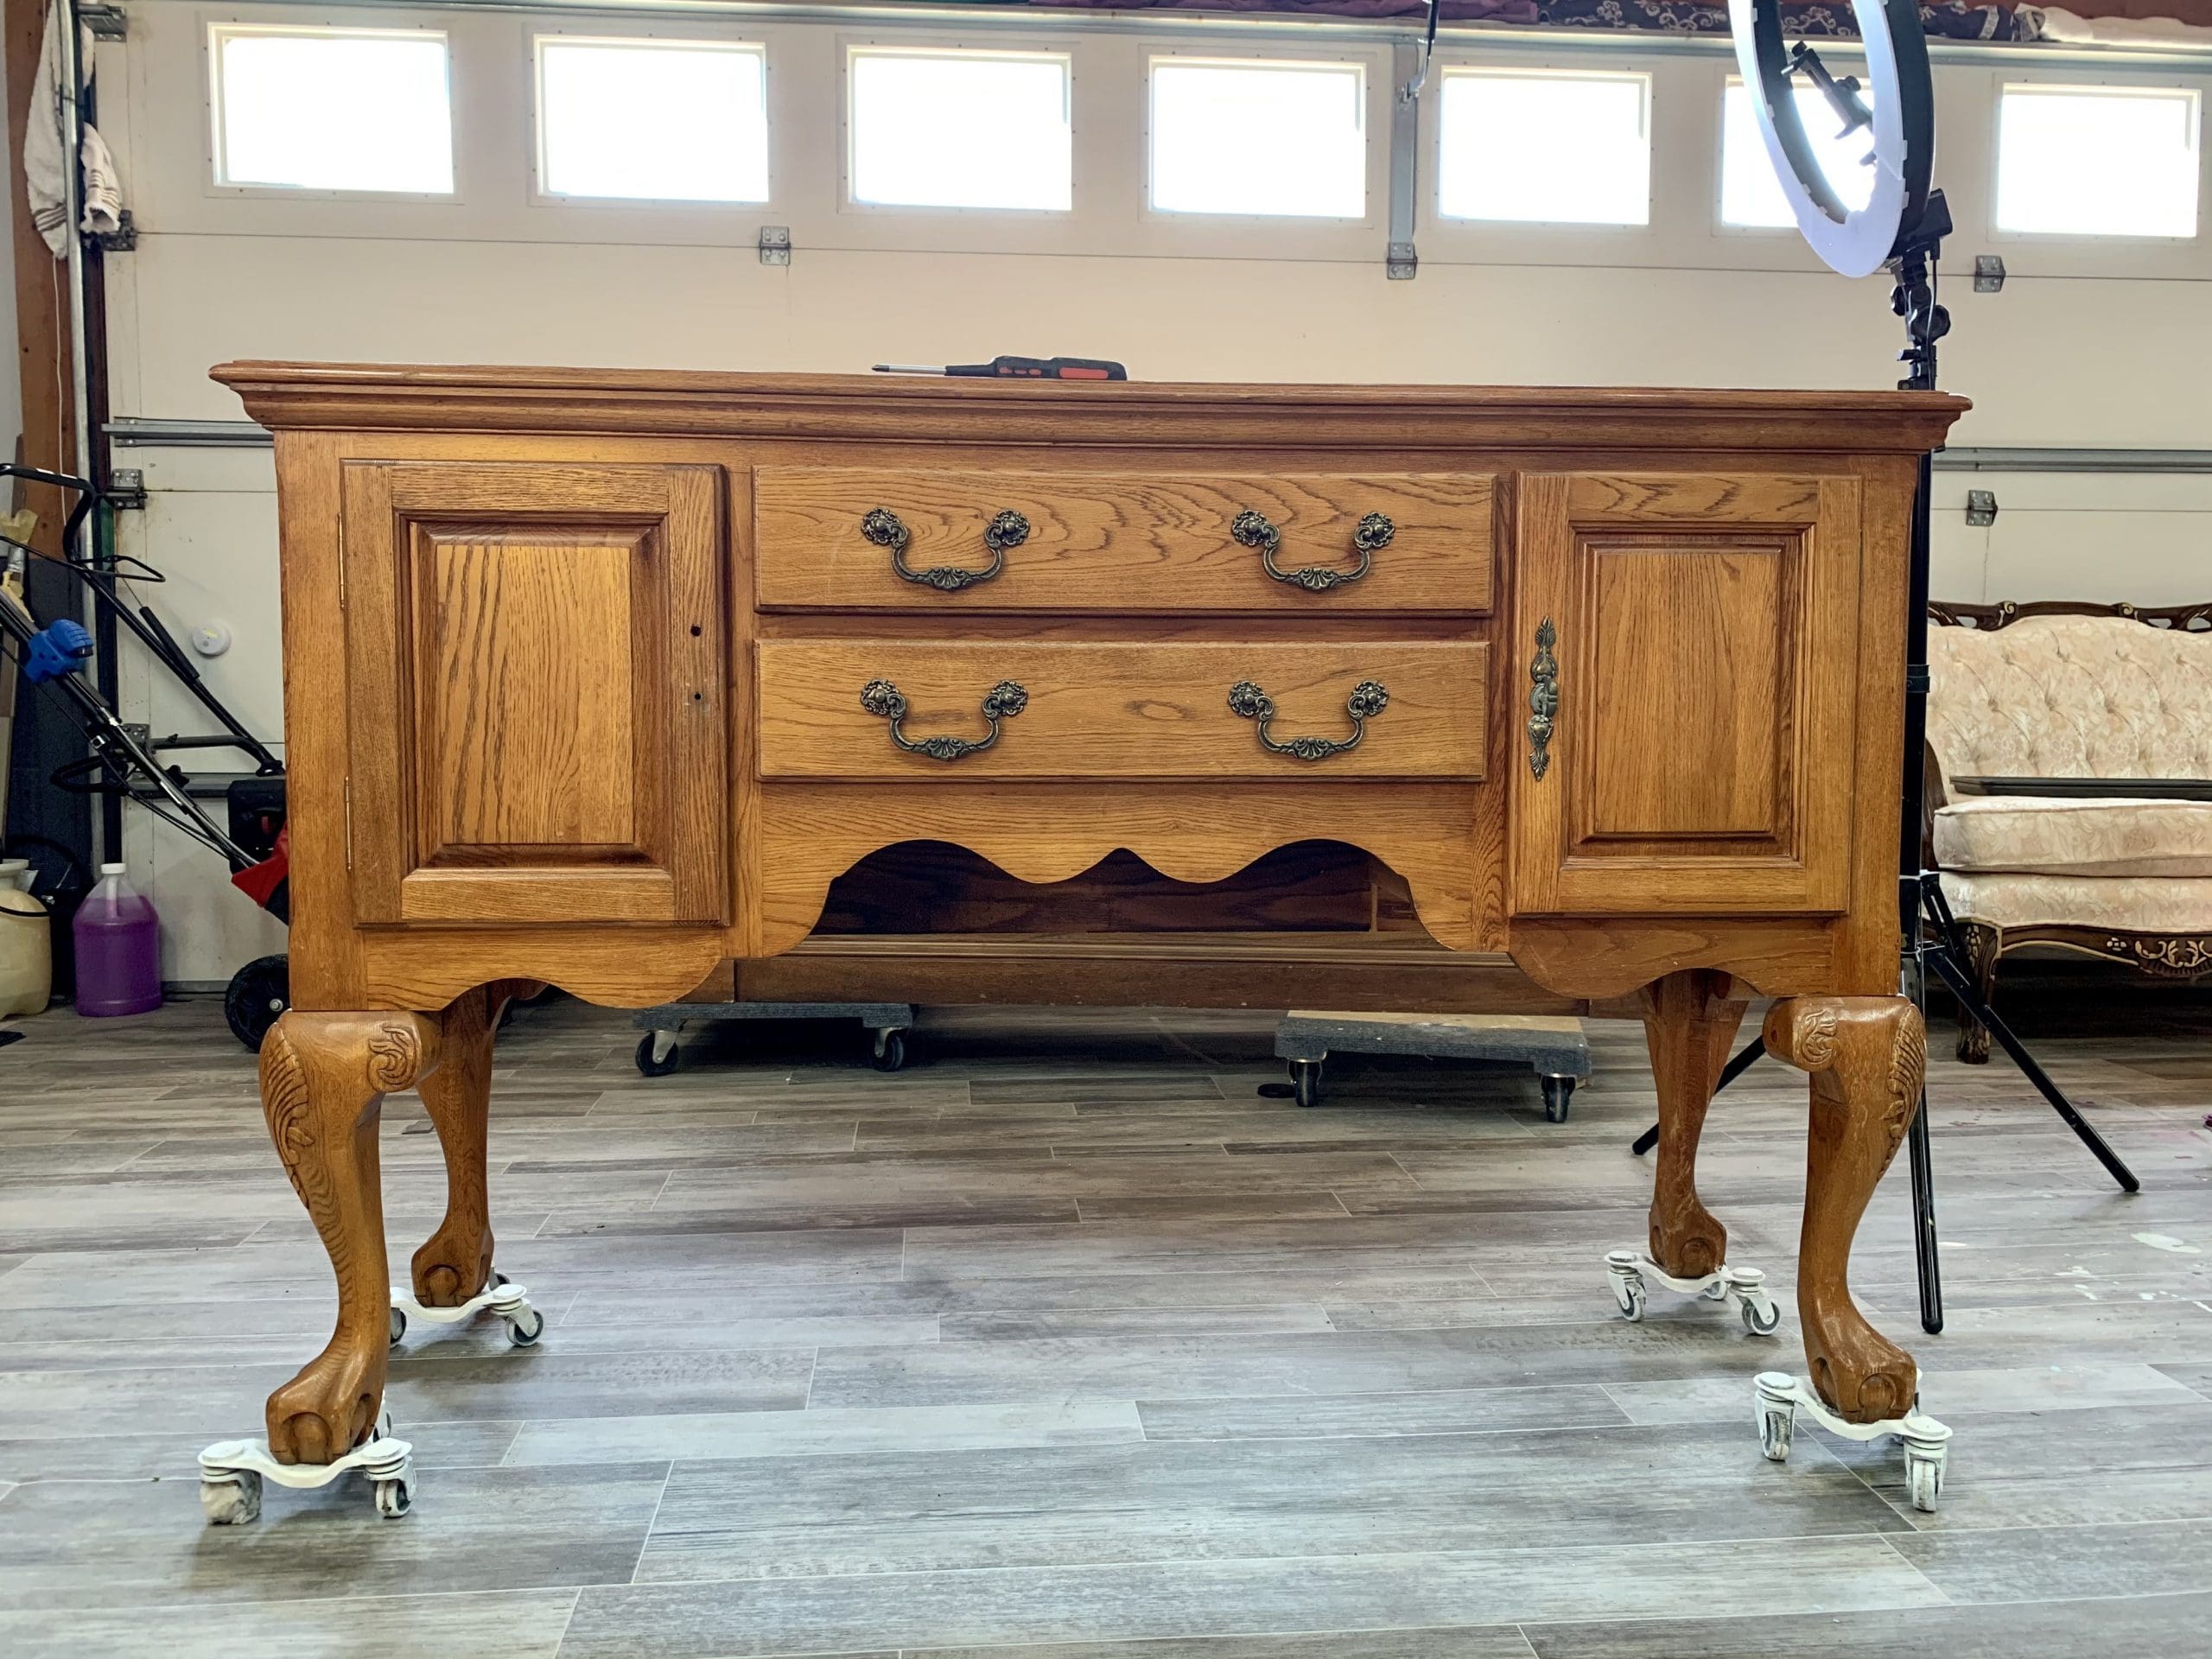
Here’s where we start. This is a newer buffet. It’s not an antique or anything special (yet). Many would confuse this for real wood (I think that’s the point 😉) but it’s totally MDF or particle wood. Most new furniture from your chain stores are.
*This post contains affiliate links. You don’t pay any more from ordering from these links but I earn a small commission so I can continue to bring you more fun projects! They also allow me to show you exactly what I use so you know what I’m referring to!
Material list:
•Sandpaper
•Hampton Olive Silk Mineral Paint
•WoodUBend (Exact pieces listed below)
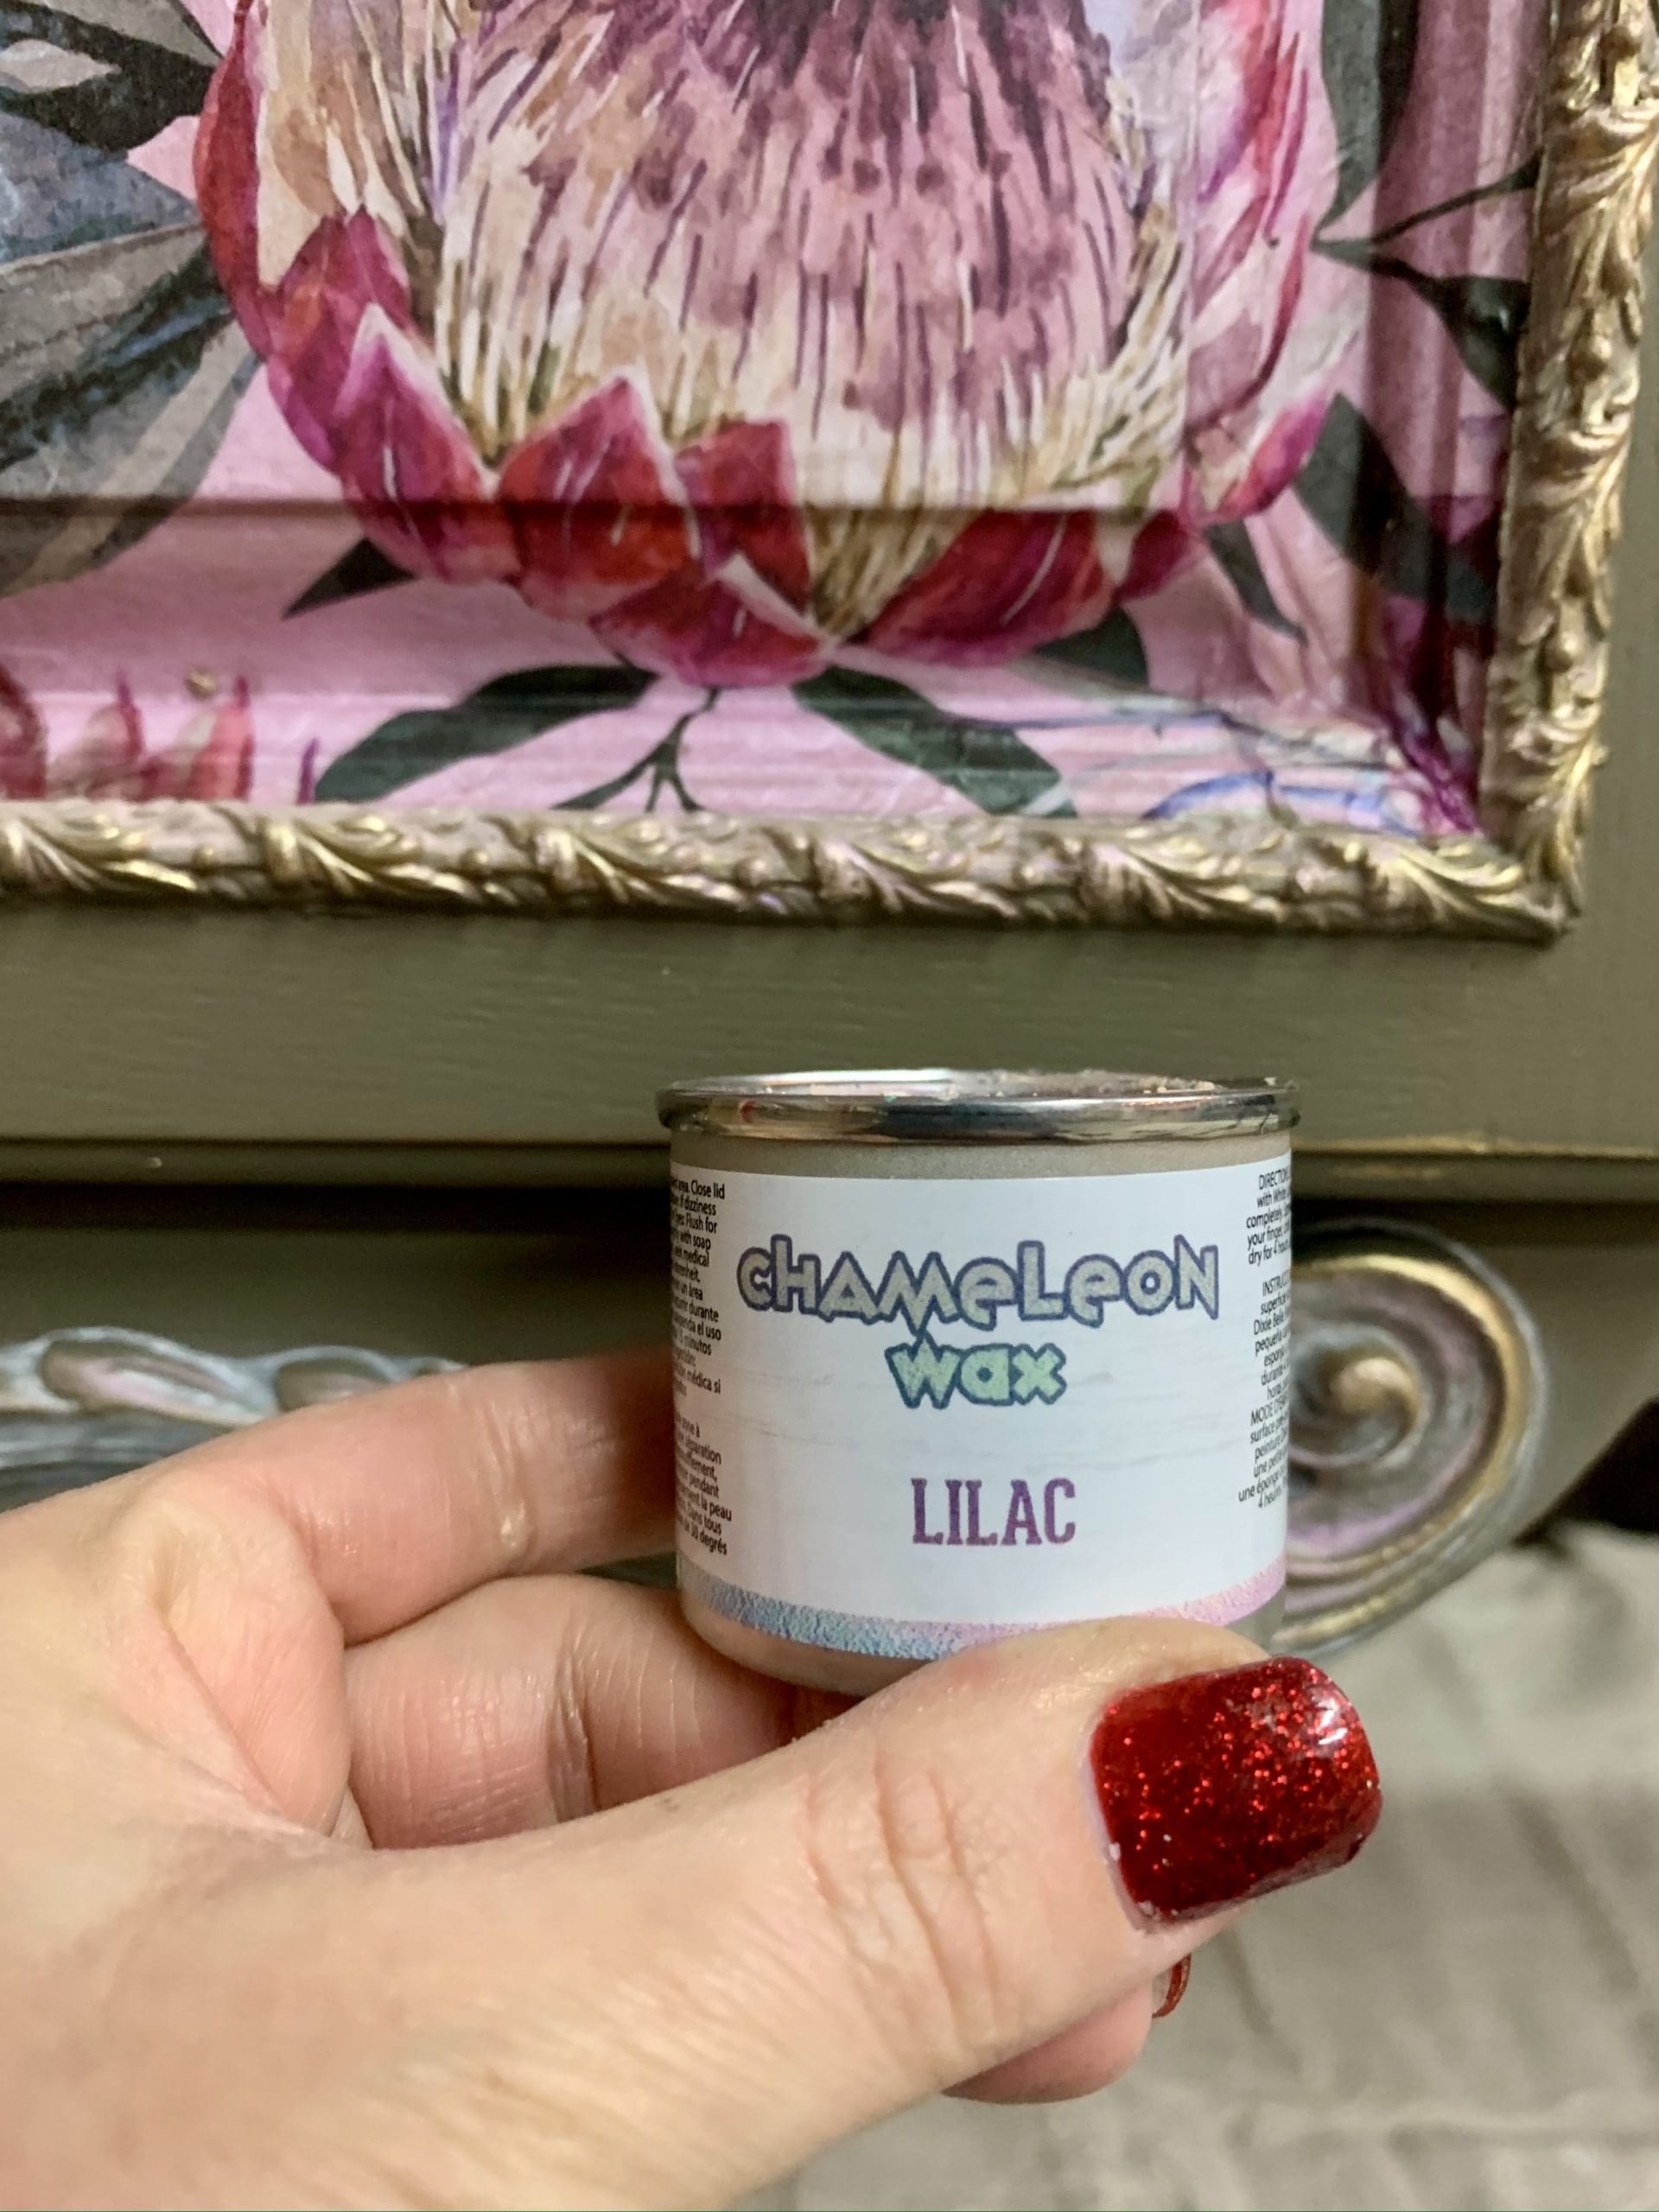
•Chamaeleon Gilding Wax in Lilac
•Oval Large synthetic Brush (High Quality Synthetic Brush)
•Small artist brushes
Dixie Belle paint company just released a new line of paint in the US called “Silk All in One Mineral Paint.” —You heard that right….ALL IN ONE! That means it has primer, paint, and a topcoat included in one jar of paint. This is the perfect paint for my 24 hour challenge because with the Silk paint I don’t have to prime or topcoat! Time saver!!
Even though you don’t need to prime with the silk paint, you still need to THOROUGHLY clean, THOROUGHLY rinse, and scuff sand for the best adhesion. Don’t worry, this process doesn’t take more than an hour at most so we’ll still be able to meet our 24 hour challenge deadline.
I cleaned my piece really well with my White Lighting cleaner. It comes in a granular form that you mix with hot water. I like to keep mine in a spray bottle. I sprayed down my entire piece and then used a finishing pad and a rag to scrub my piece down. I used a toothbrush to get into the nooks and crannies of the piece. Then I took a spray bottle of plain water and I sprayed it down to rinse the White Lighting off. You want to rinse it like you’re rinsing shampoo out of your hair. I used a new, clean, wet rag to wipe all the White Lighting away. This is important. Your paint won’t stick to things like dirt, oils, and cleaner. So rinse, rinse, RINSE!! (Here’s a little video of what I mean by rinse IMG_5832).
Then let it dry. Since a lot of water is used to clean, I try to get it off as fast as possible by drying it with a towel and then setting it I front of a fan. If you don’t have a fan just wipe it with a dry towel. Don’t let water sit or puddle on your piece for long because it can warp the wood or whatever your piece is made of.
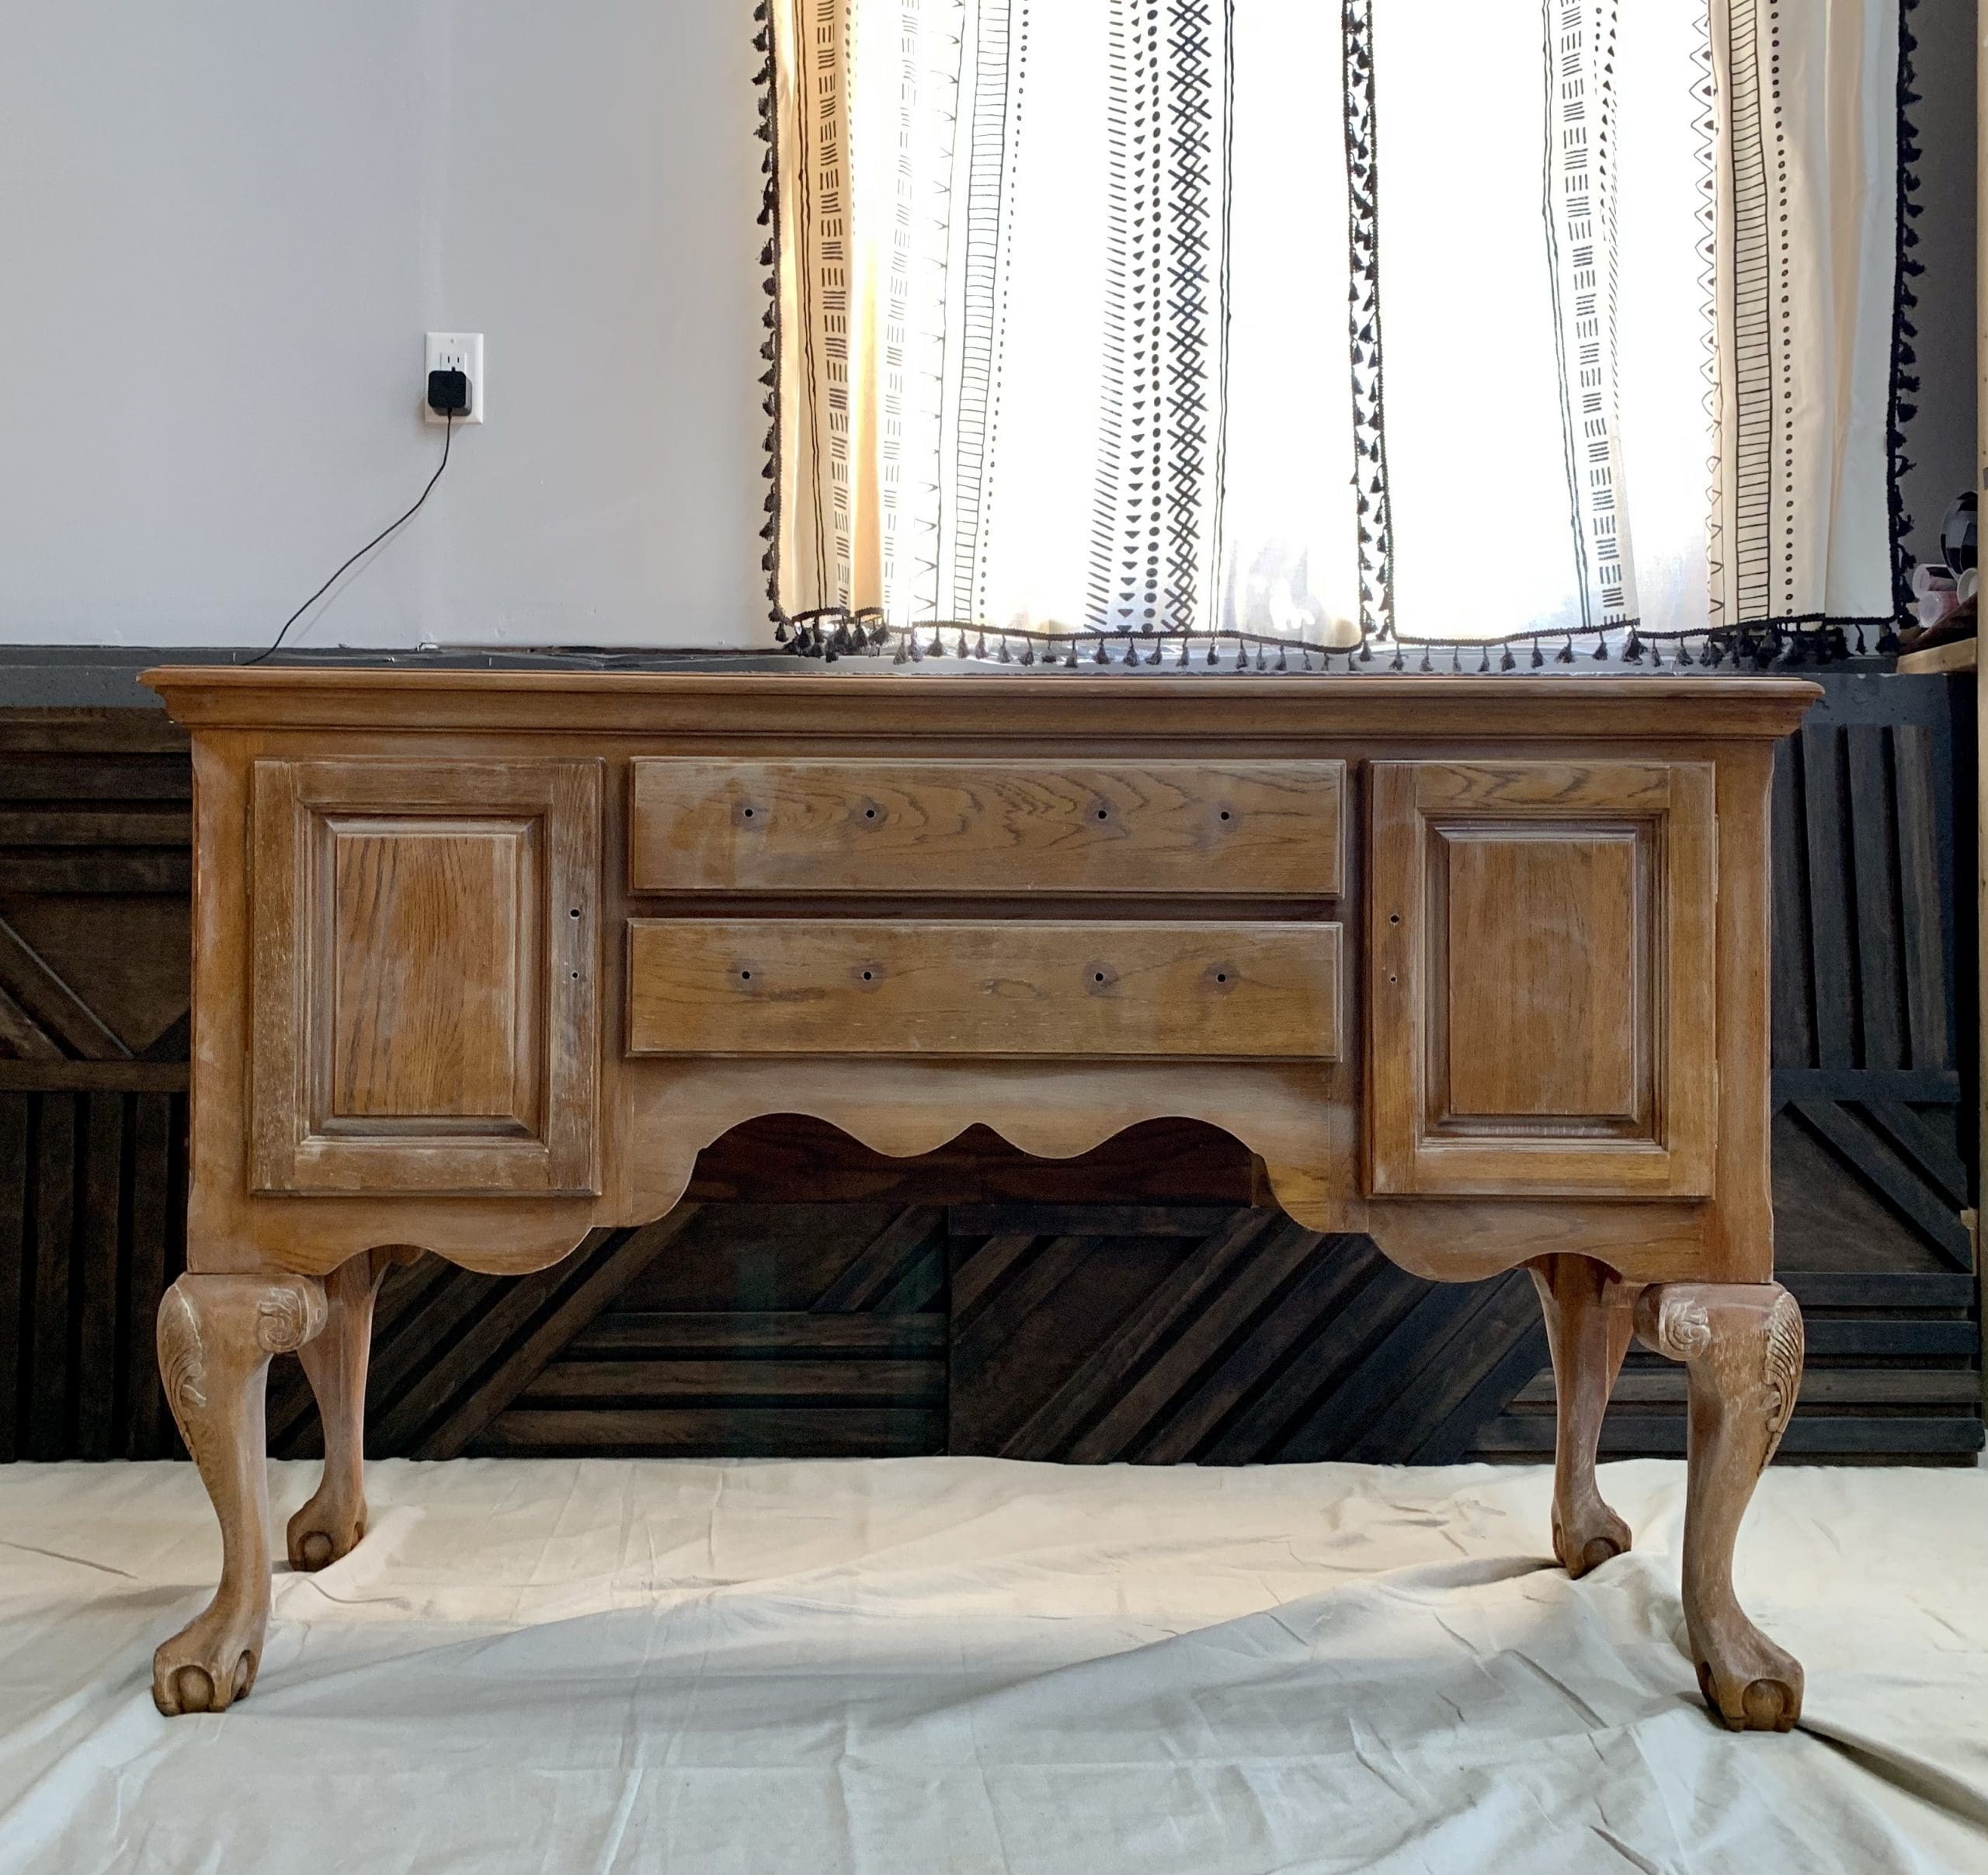
Next is the scuff sand!! Do not skip this step! I recently learned that you are supposed to sand after you clean. Why? Because if you sand before you clean you actually push oils that are setting on top of your wood further into the finish. Cleaning first helps to avoid this.
What even is a “Scuff Sand?” This is where most people get confused. A scuff sand is a light sanding that does not break through the original finish of your piece, but lightly sands the gloss off to give your piece some “Tooth.” A little texture for your paint to bite on and adhere to. So many people think you have to sand down to bare wood and that is not the case. In fact sanding to bare wood is what causes problems such as bleed through. Bleed through is when tannins from your wood seep through the paint causing ugly little oily brown spots on your finish.
For a piece this size a scuff sand should take you 20-45 minutes depending on your skill level and tools. I like to use my palm sander with 220 grit paper on it for all the flat spots like the top, doors, and sides. Then I use a sanding sponge in a coarse grit to get the legs and indentations. I use the lower grit 220 on my palm sander because it is more powerful and I don’t want to break the finish. I use a coarser grit when I have to do it by hand because I don’t want to work that hard. Your pieces should have a nice sanding dust on it like this.
After this I wipe it down with a damp towel. For extra credit you can wipe it with a 50/50 mix of denatured Alcohol and water. I keep this mix in a spray bottle in my shop. It just helps dry the wood out a little more and takes off any oil that may have been left behind. It isn’t necessary and a damp cloth will work fine as well!
What about Priming??
Okay, so here’s where I need to have some real talk with you about this paint. If you’ve followed my blog for awhile you will know that I am an avid primer. I prime almost everything and think of it as an insurance policy on my paint job. Even though it isn’t necessary for adhesion with any of the Dixie Belle paints. For comparison to the original Chalk Mineral paint, the Silk mineral paint is equal to one coat of BOSS primer and one coat of Satin Topcoat within one jar of paint.
Here’s the catch. Some pieces require more than one coat of BOSS primer (which stands for Blocks Order and Stops Bleed through and Stains). Pieces that are extremely old, have knots (like pinewood), Mahogany, have been exposed to nicotine, or have several breaks in the original finish. If you think your piece is a bleeder you may need to use BOSS. For my 24 hour challenge piece I did not need to use BOSS because I didn’t have any signs that this piece would bleed.
Another reason to prime is for adhesion. Slick factory finishes, such as many Mid Century Modern styles, are made from a slick plastic type ”wood.” If your surface is slick you may need to use a coat of Slick Stick to help your paint adhere.
Lucky for me my 24 hour challenge piece did not need a primer! I was able to move forward with painting! Not having to prime made this project fun and I’m definitely going to be using the silk paint more to avoid priming.
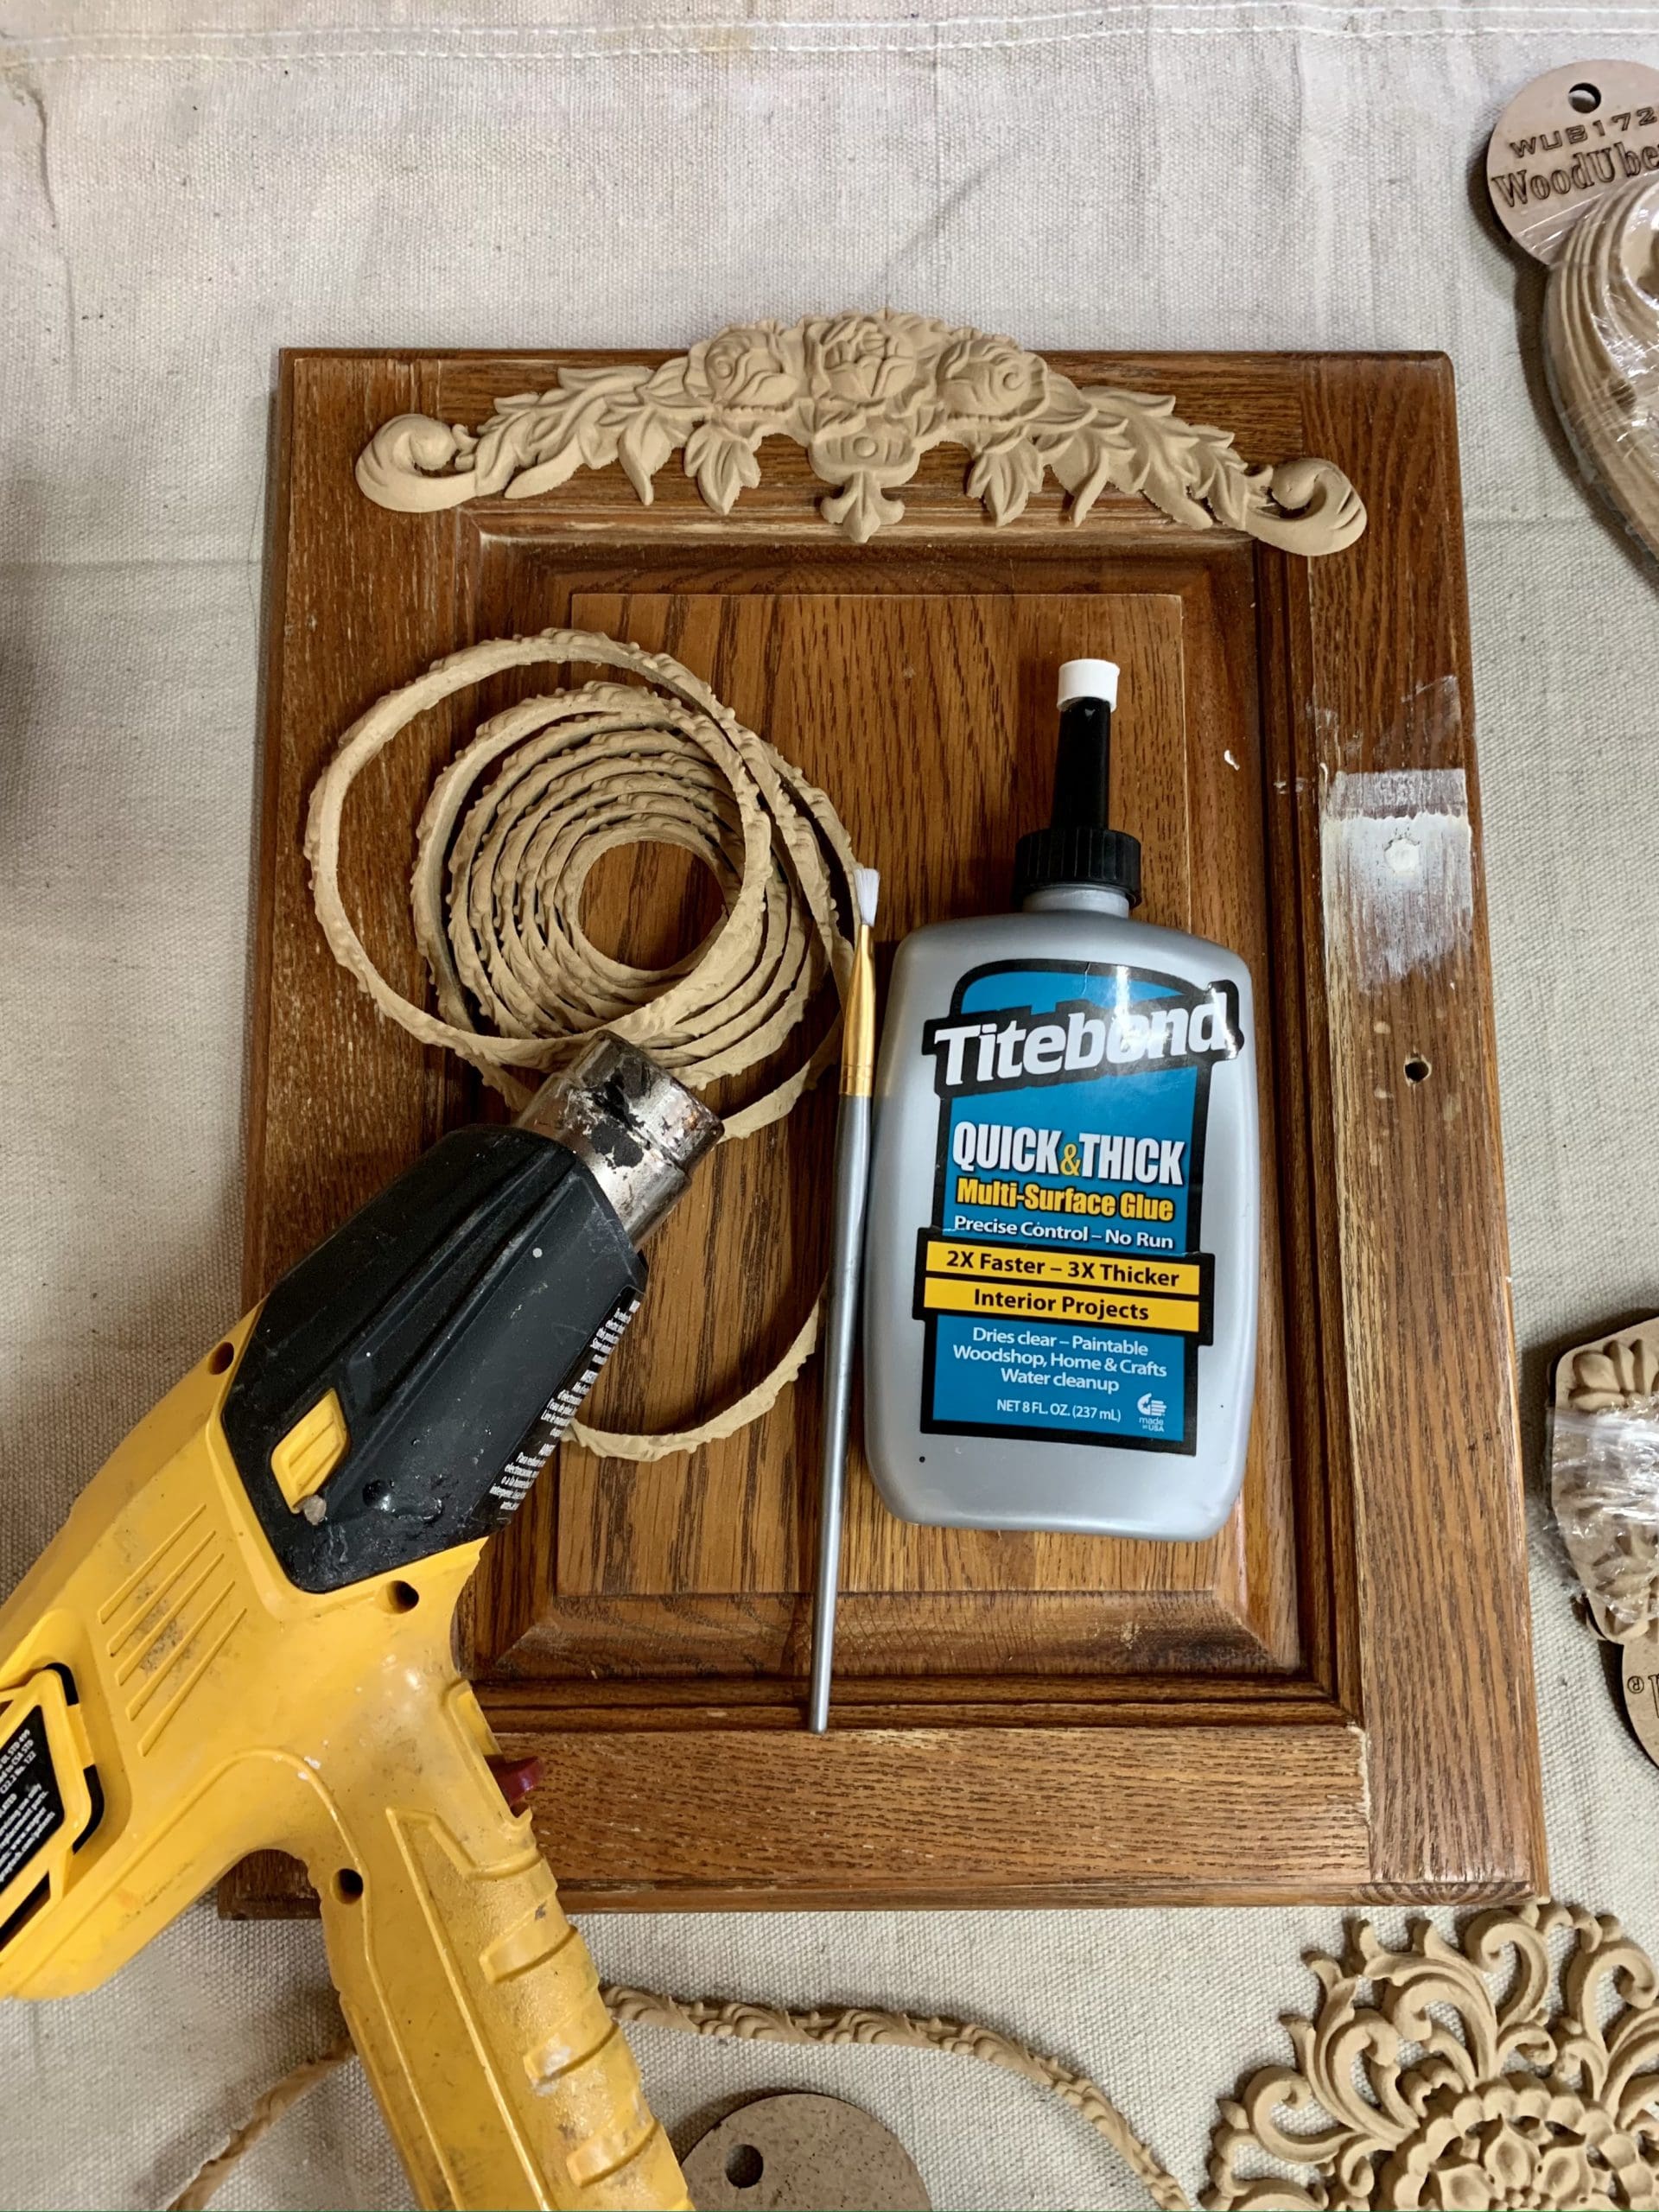
I decided to add a few WoodUBend Mouldings to my doors and edges. I used the following pieces:
•Embellished Rope Trim on doors TR50B
•Under the Doors: large piece 1723 / Small Piece 2437
If you’ve never used WoodUBend before it’s a pretty cool product. You just heat them up and they bend so you can form them to anything. They are super flexible! I attached them with Tight-bond Quick and Thick.
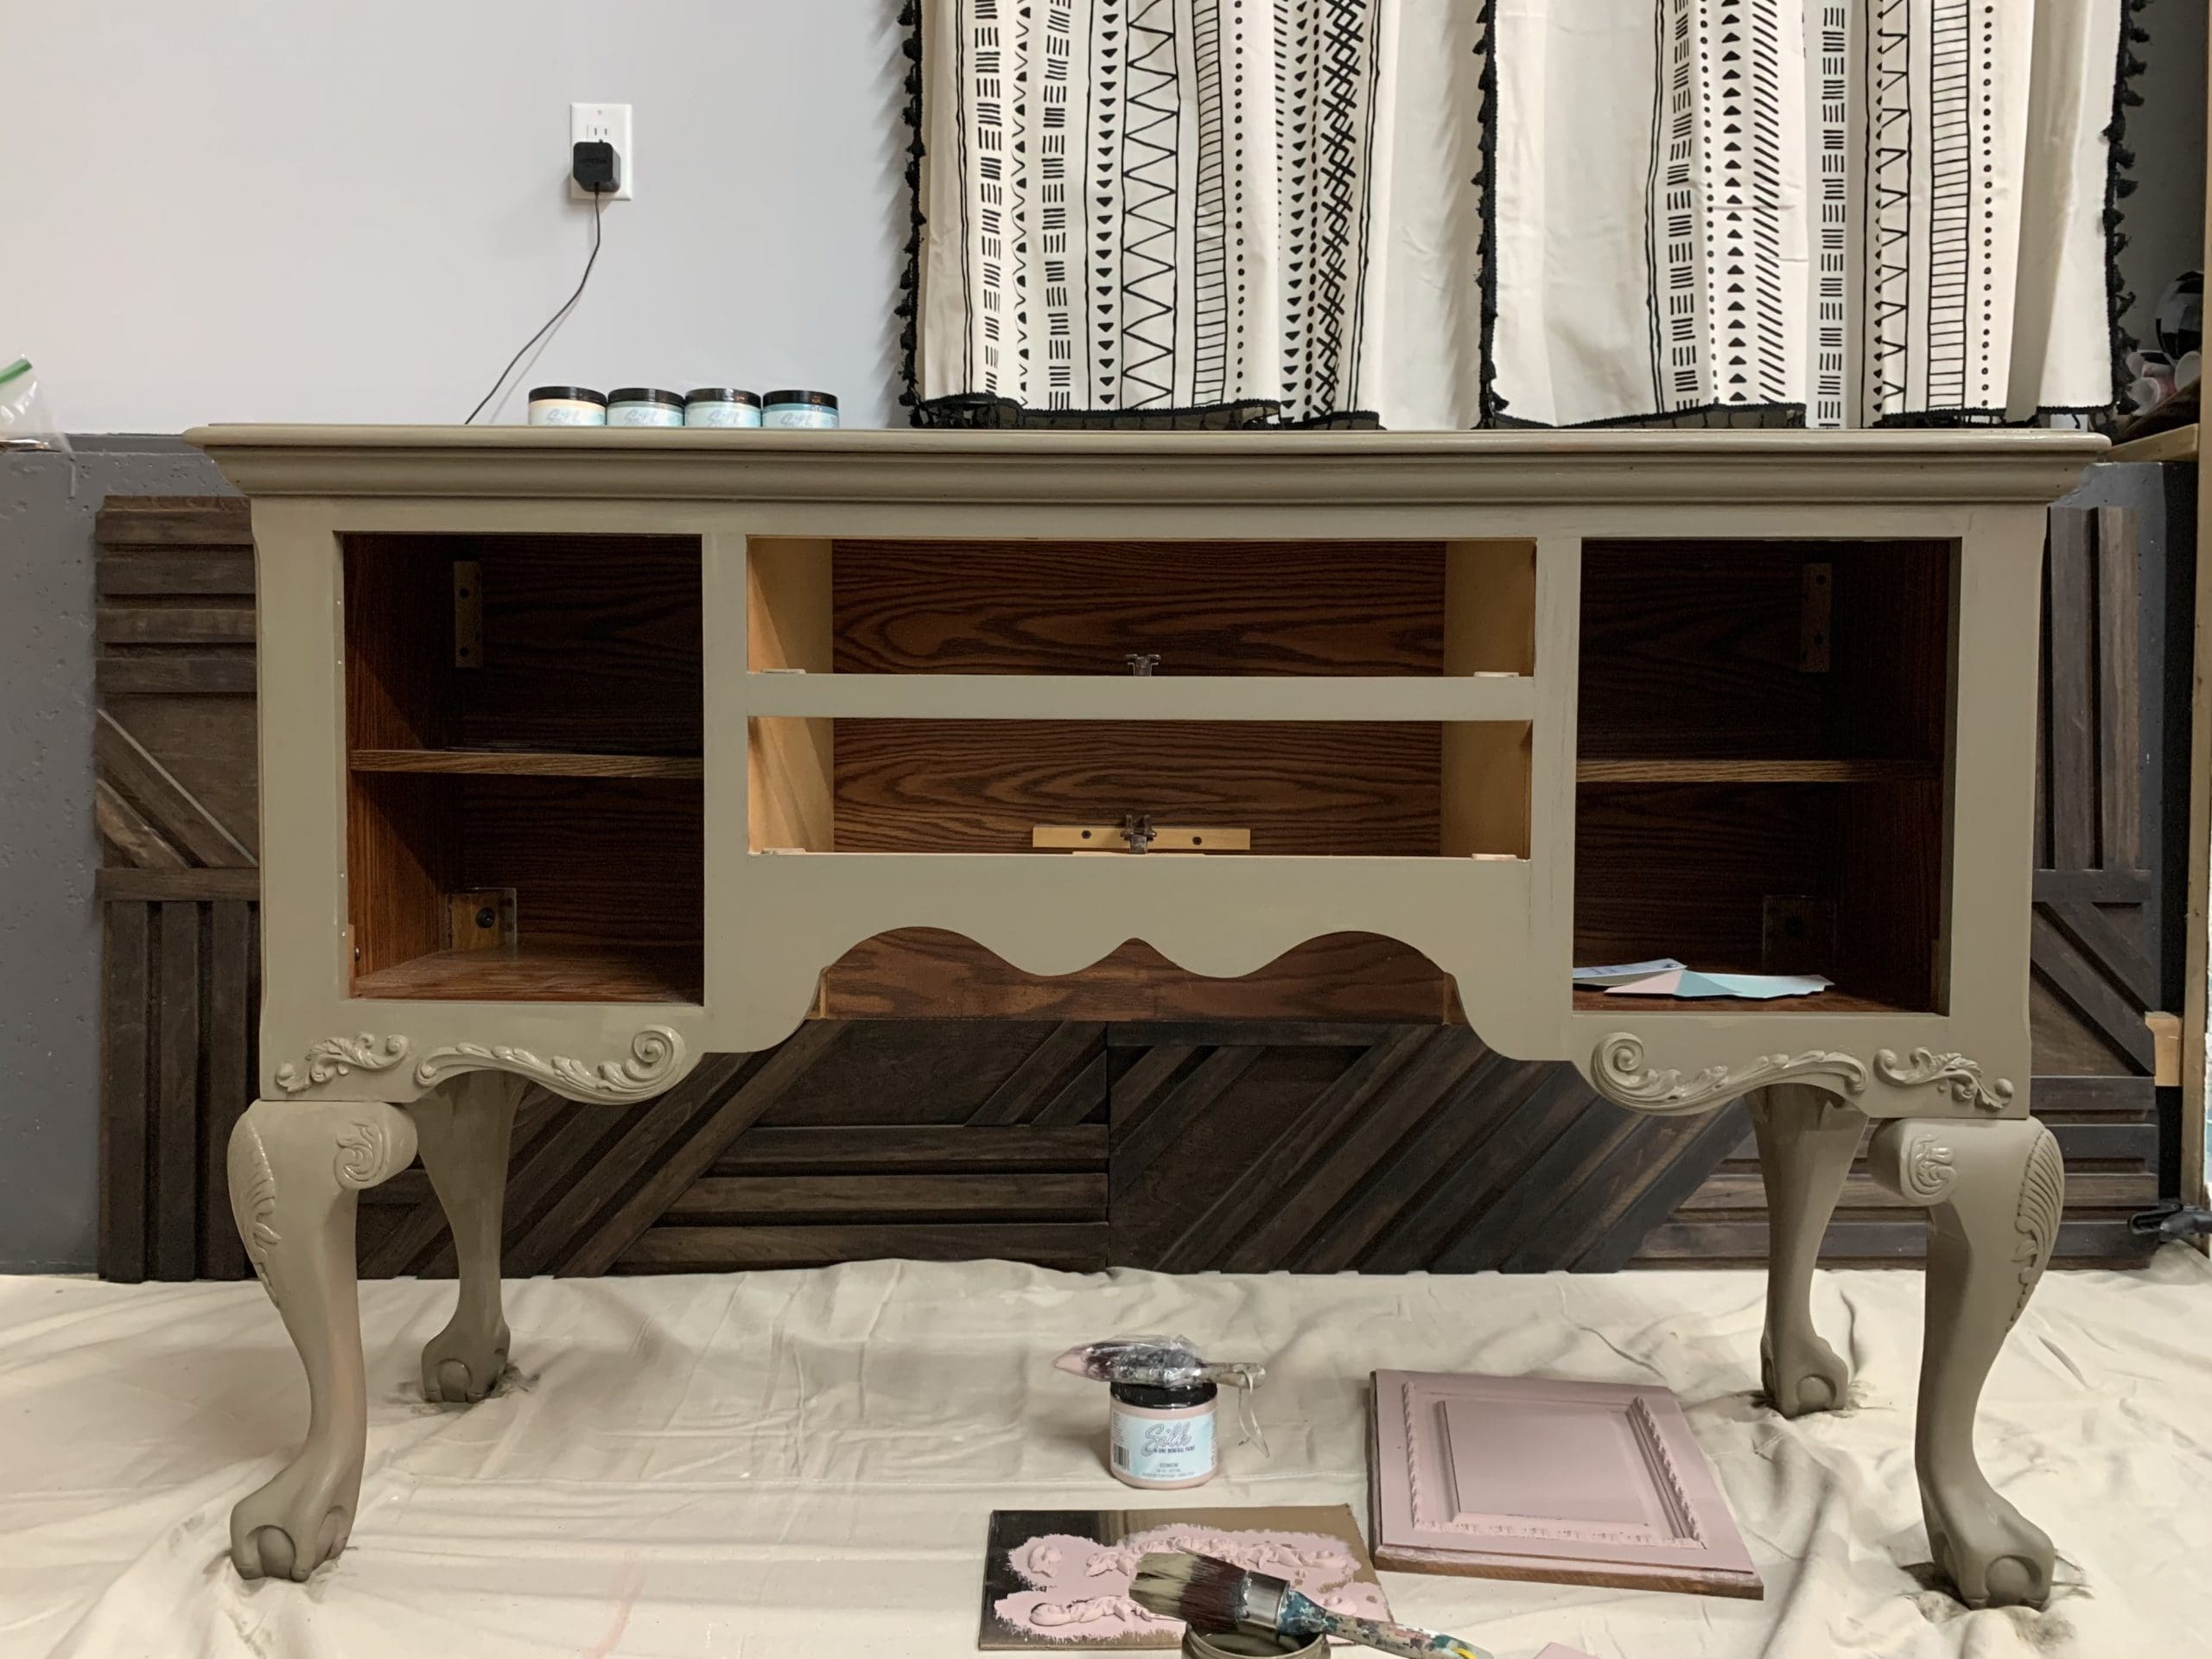
Then I painted the doors in Conch which is a blush pink in the Silk Mineral paint line. I wanted to use the new decoupage paper “Tropical over Pink” so I needed a light base on these doors. I then went ahead and painted the rest of the buffet in Hampton Olive. My goodness is this a gorgeous green! I used 2 coats with my synthetic oval round for full coverage.
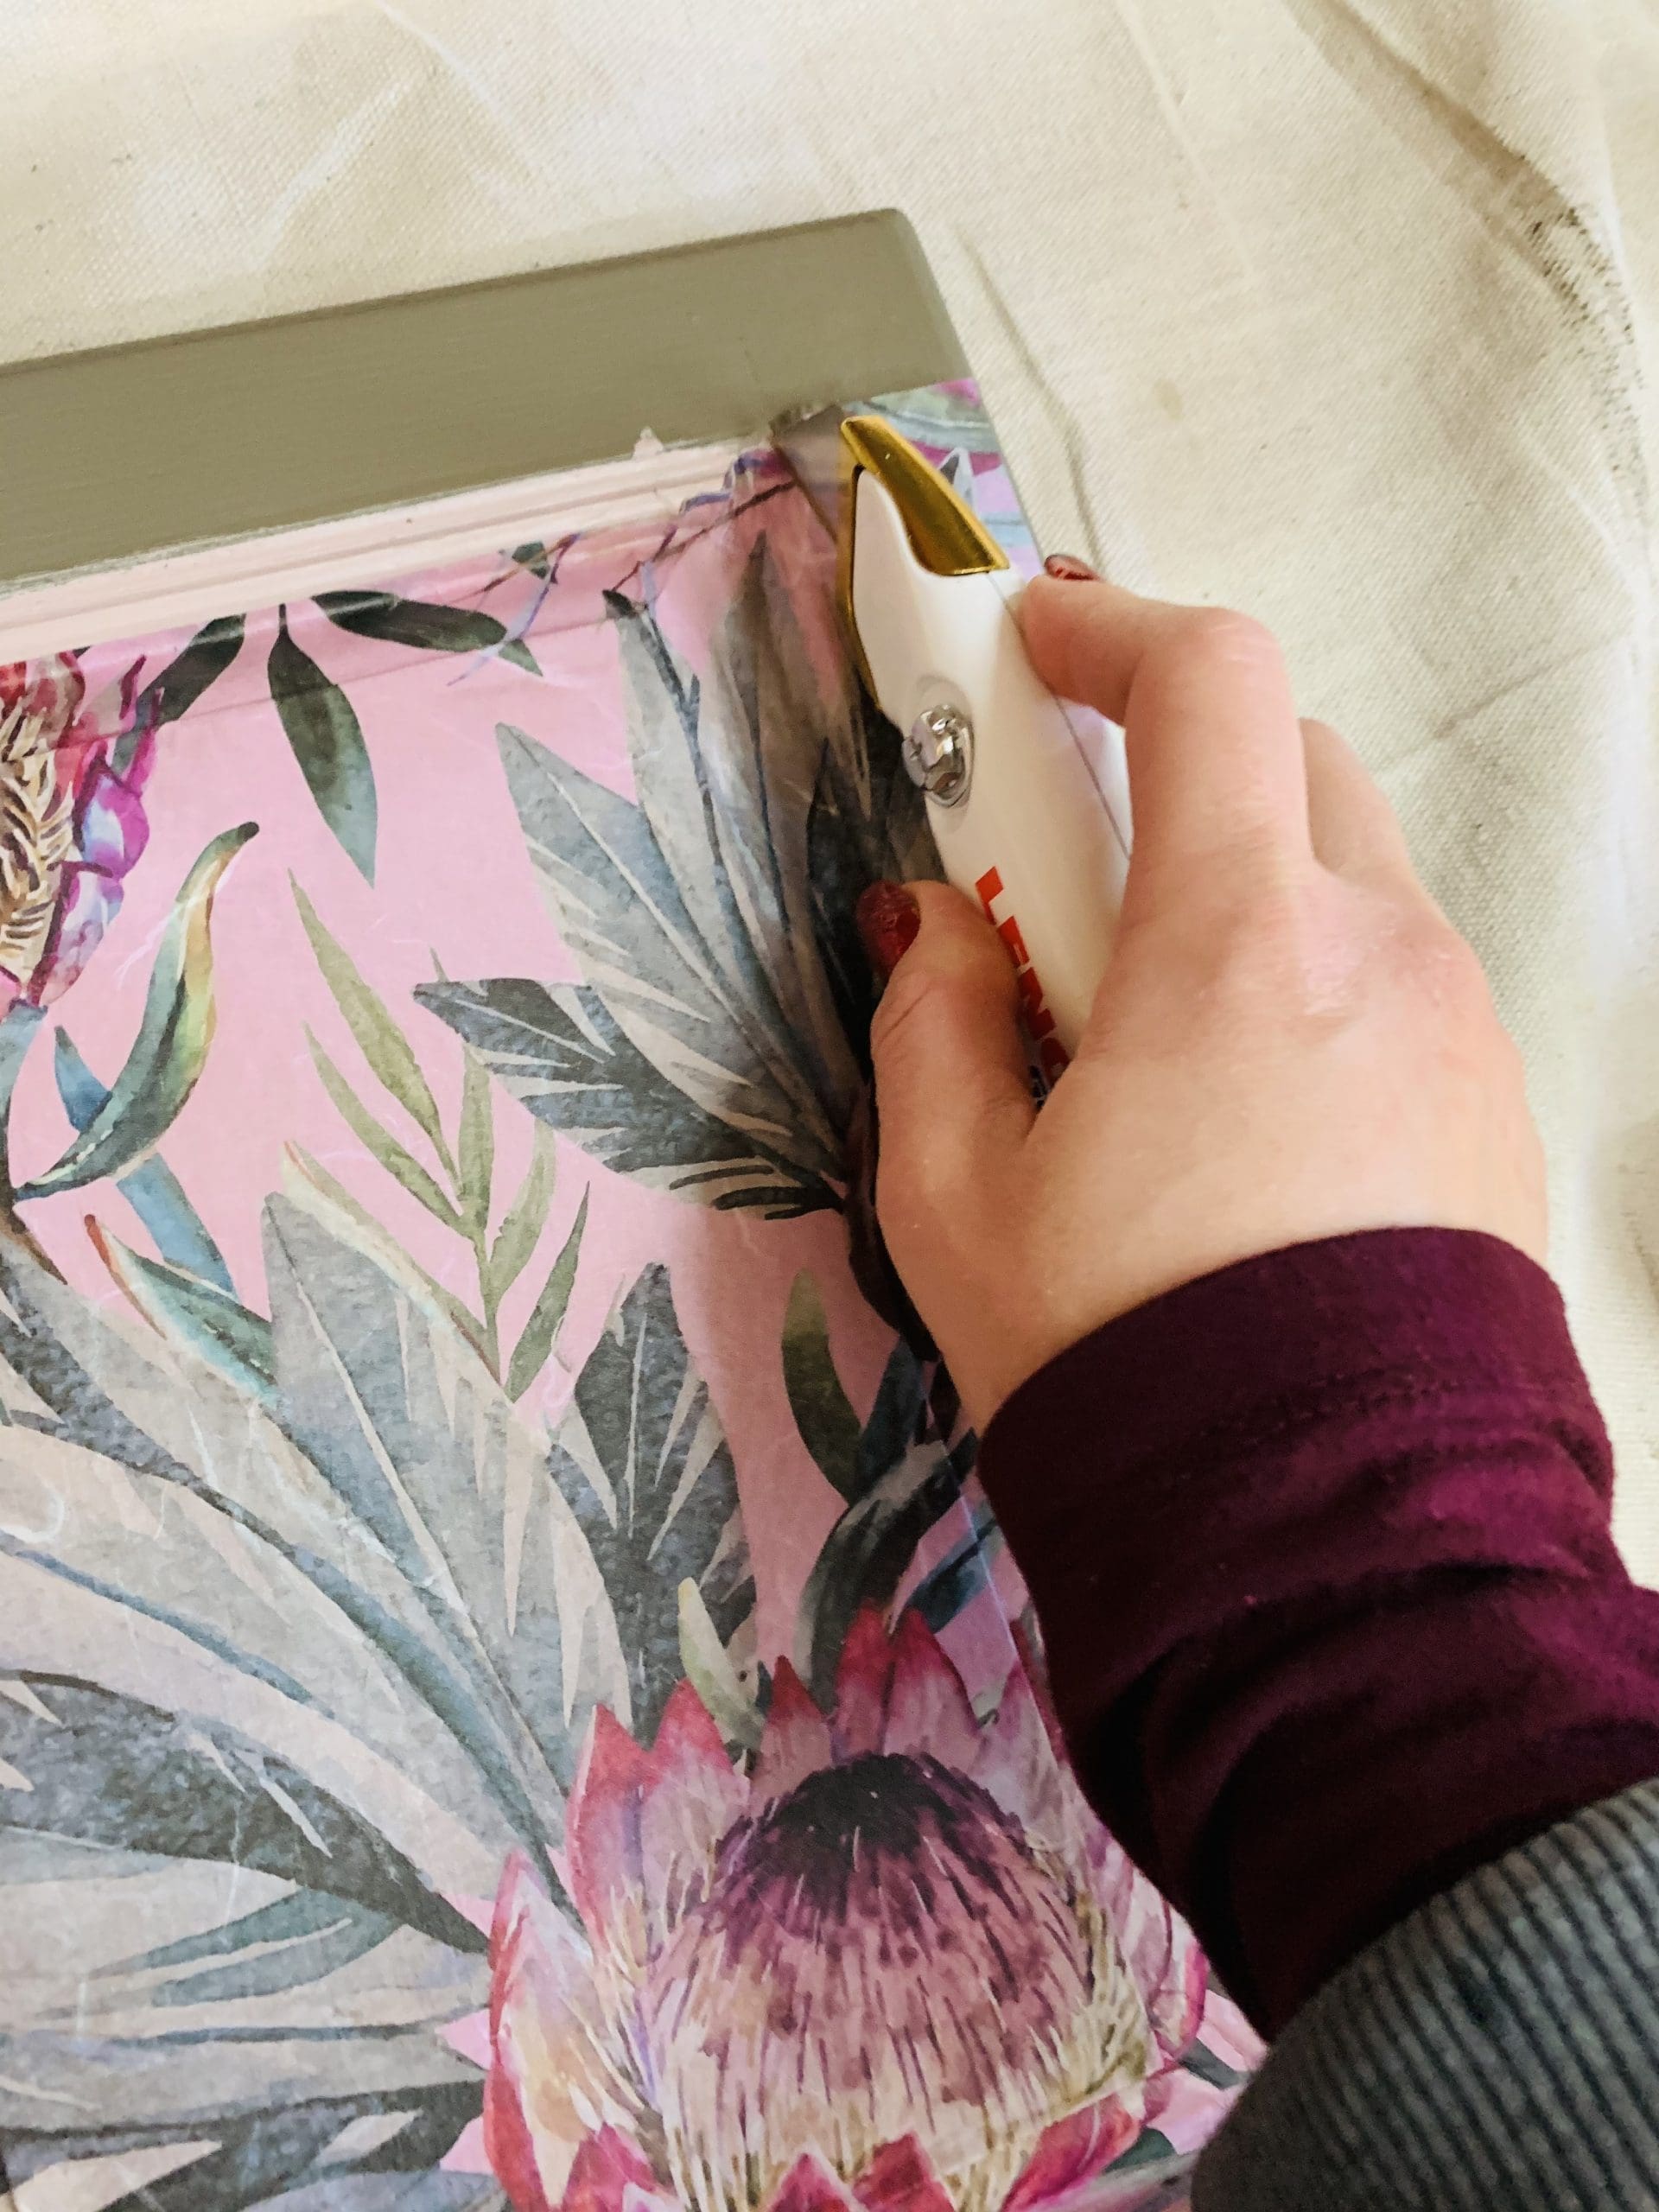
Next I applied the Tropical over Pink decoupage paper on the door fronts. This decoupage paper is a light tissue paper that is breathable so it is very easy to use. I applied one coat of Gator Hide to my dry Conch Silk paint. Then I set the paper on top. Next I pushed it into all the crevices and applied another coat of Gator Hide on top. I smoothed it with my plastic gift card. Some of the color may come off as you can see here on this wipe. The color stays true and doesn’t smear but some ink coming off is normal with all decoupage papers. I made sure I didn’t have any puddles of Gator Hide Left and I left it to dry!

Once it was dry I used my razor knife to cut the edges. I applied one last coat of gator hide to seal down the edges I cut just to make sure they were secure. This also gave it a little more shine!
I applied my WoodUBend 2110 to the tops of my doors. I painted them before I applied them and then added a touch more paint once they were on to make them really look like they were original to the piece.
Now it’s time for the fun stuff!! My 24 hour challenge was cutting close so I was grateful I did not need to topcoat!! 🙌🏻 I applied Best Dang Wax in white to all the details and wiped them back with a baby wipe. I wanted to get the low spots with white in my details. I used the new la petite brush for this.
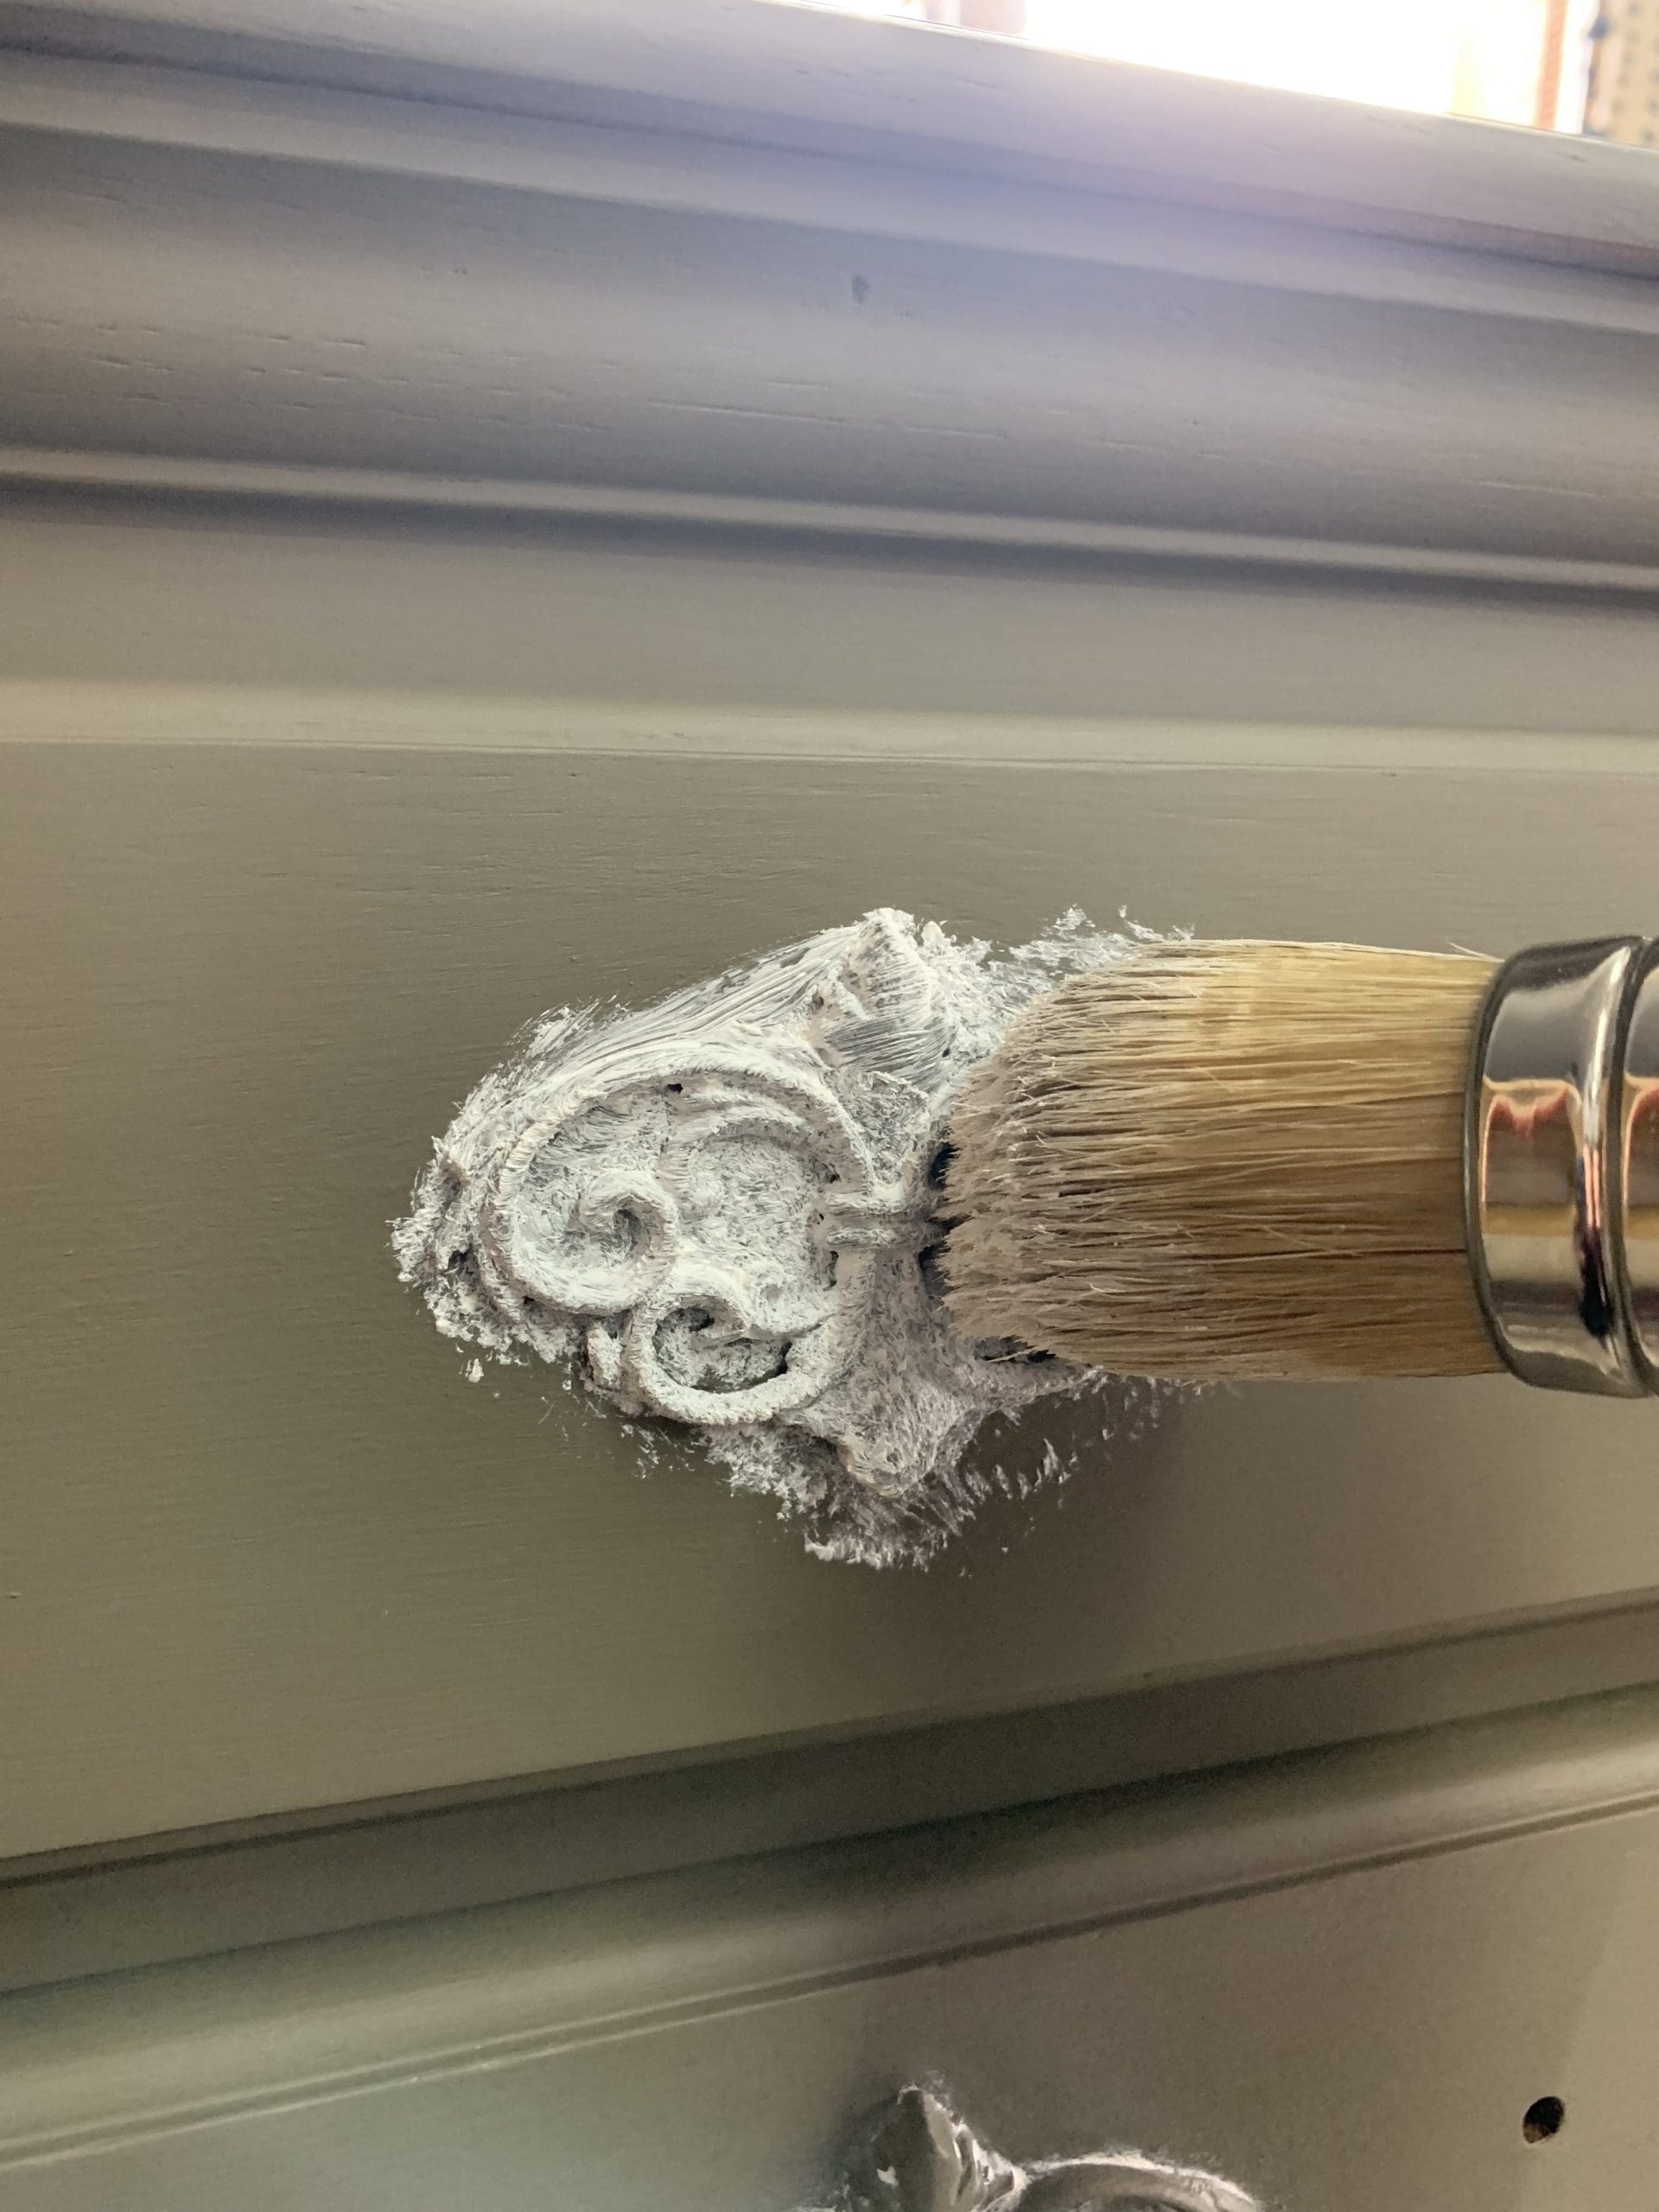

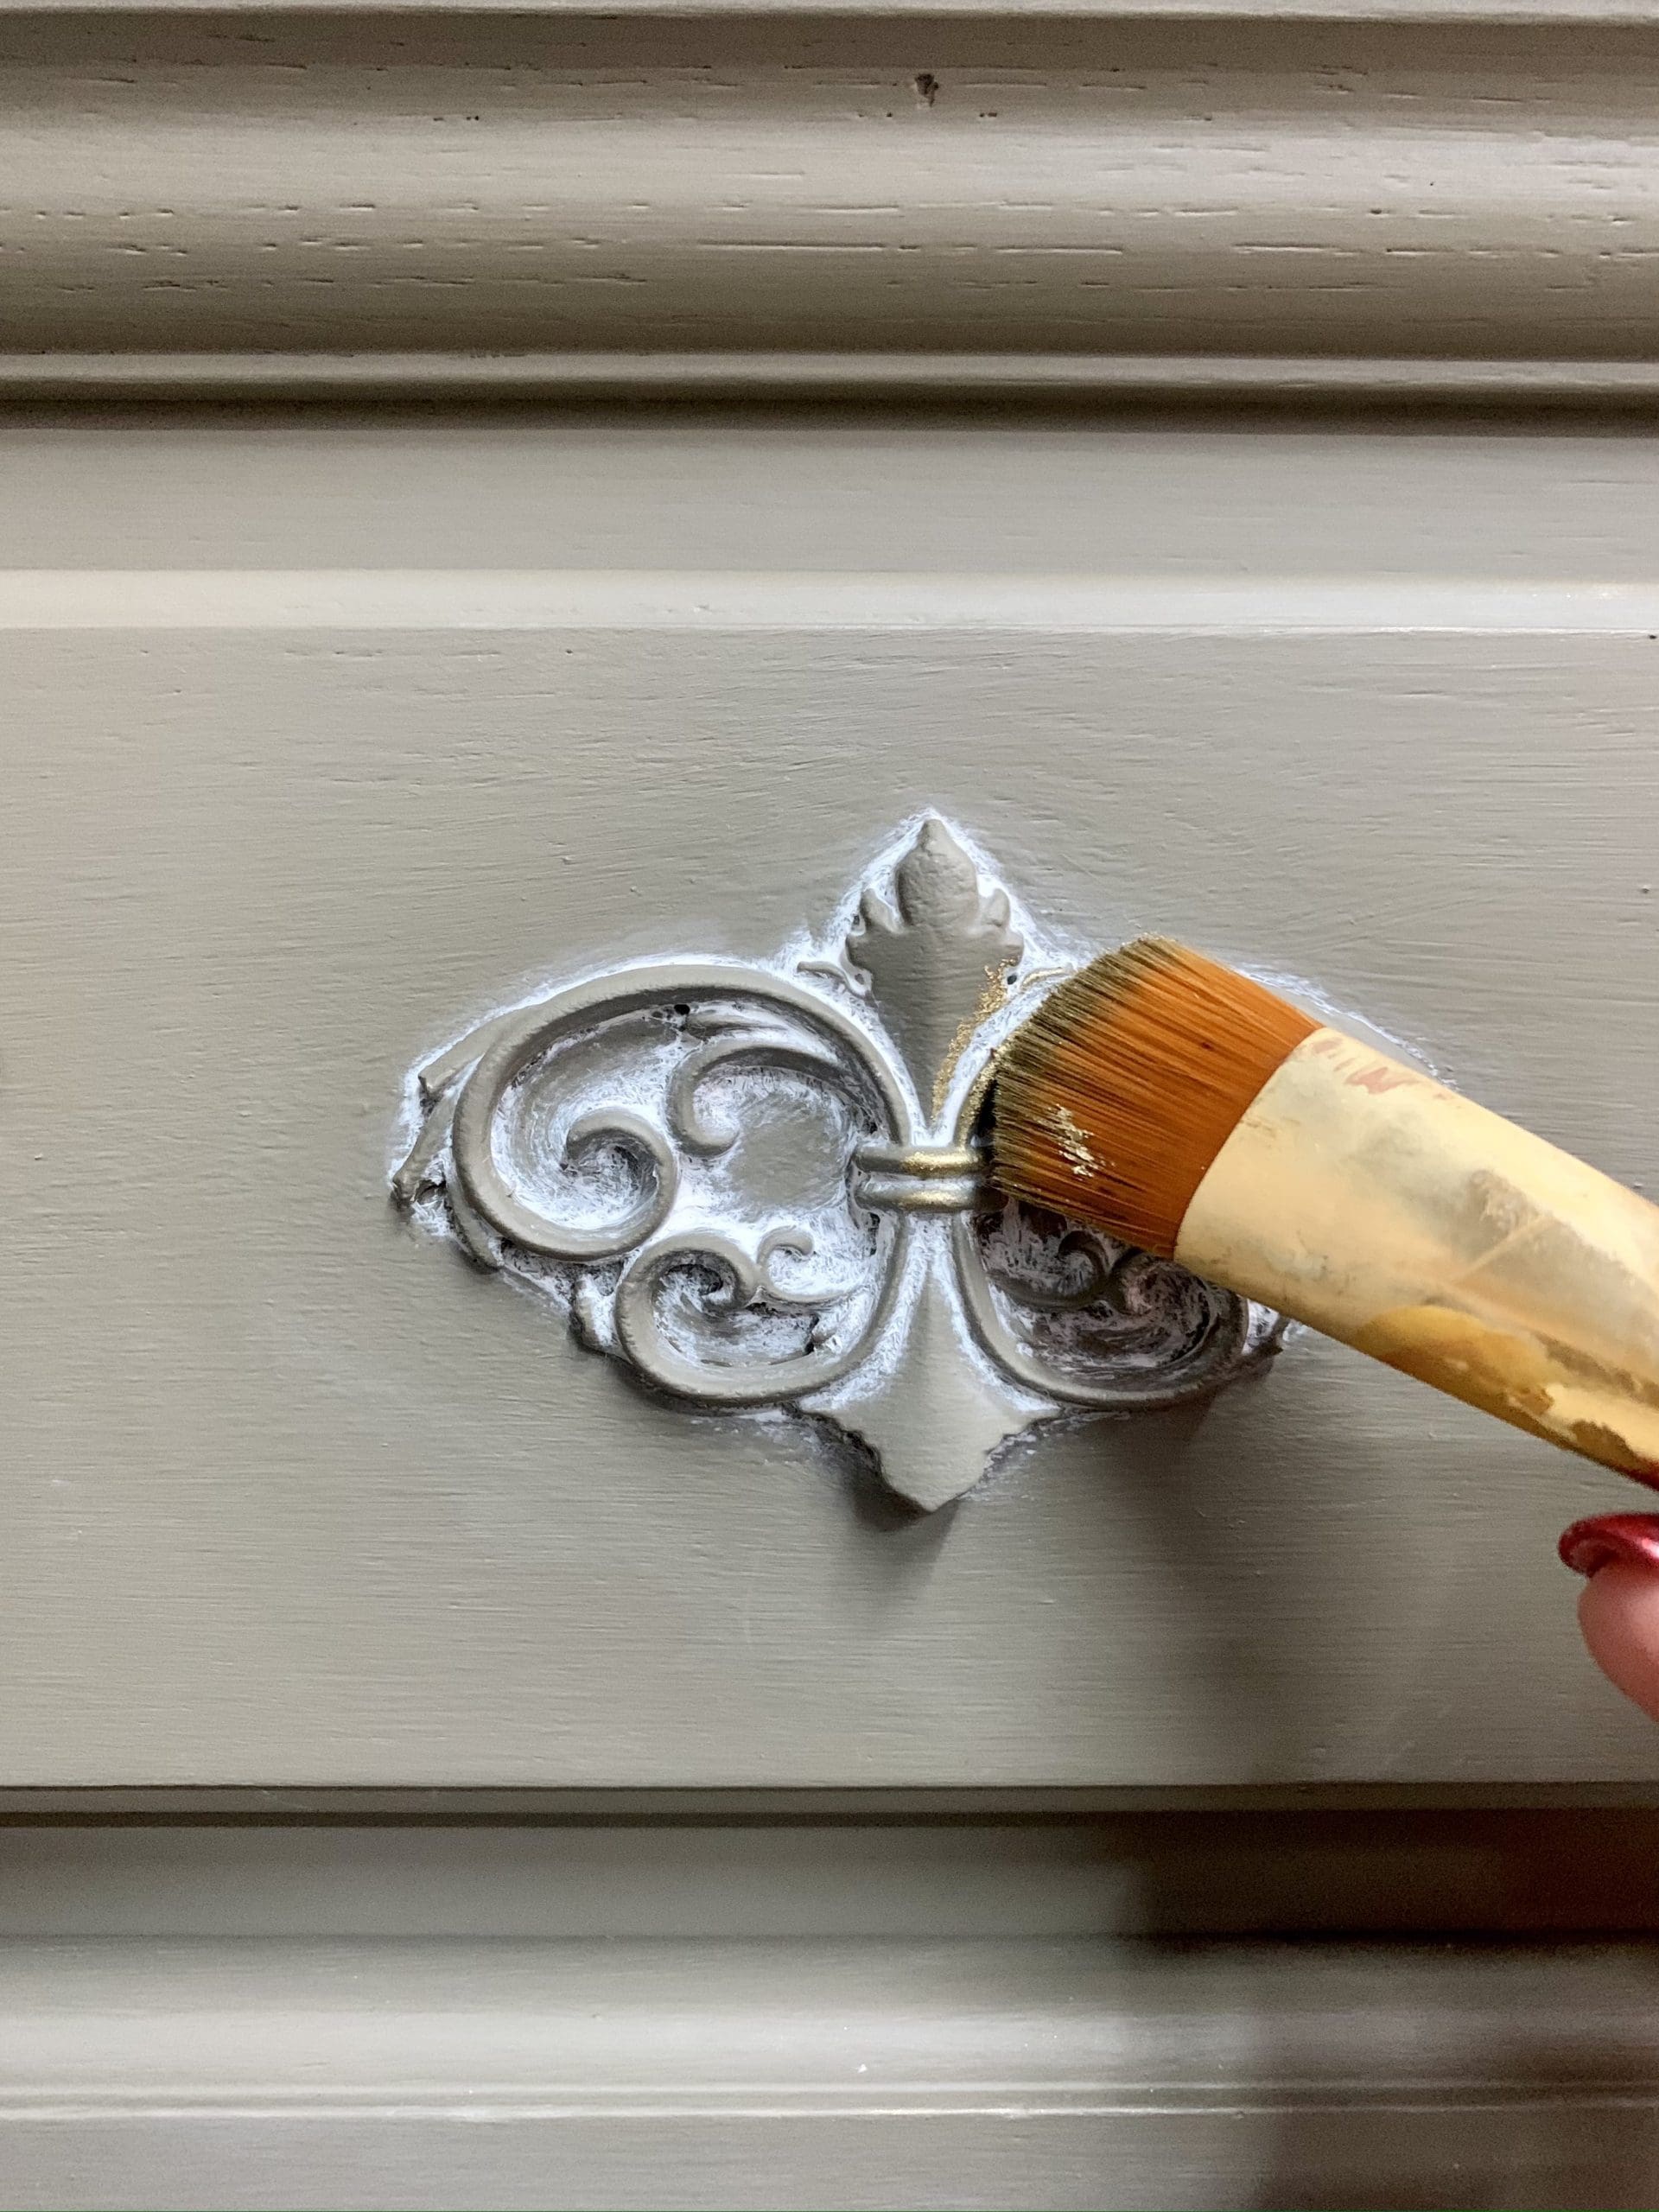
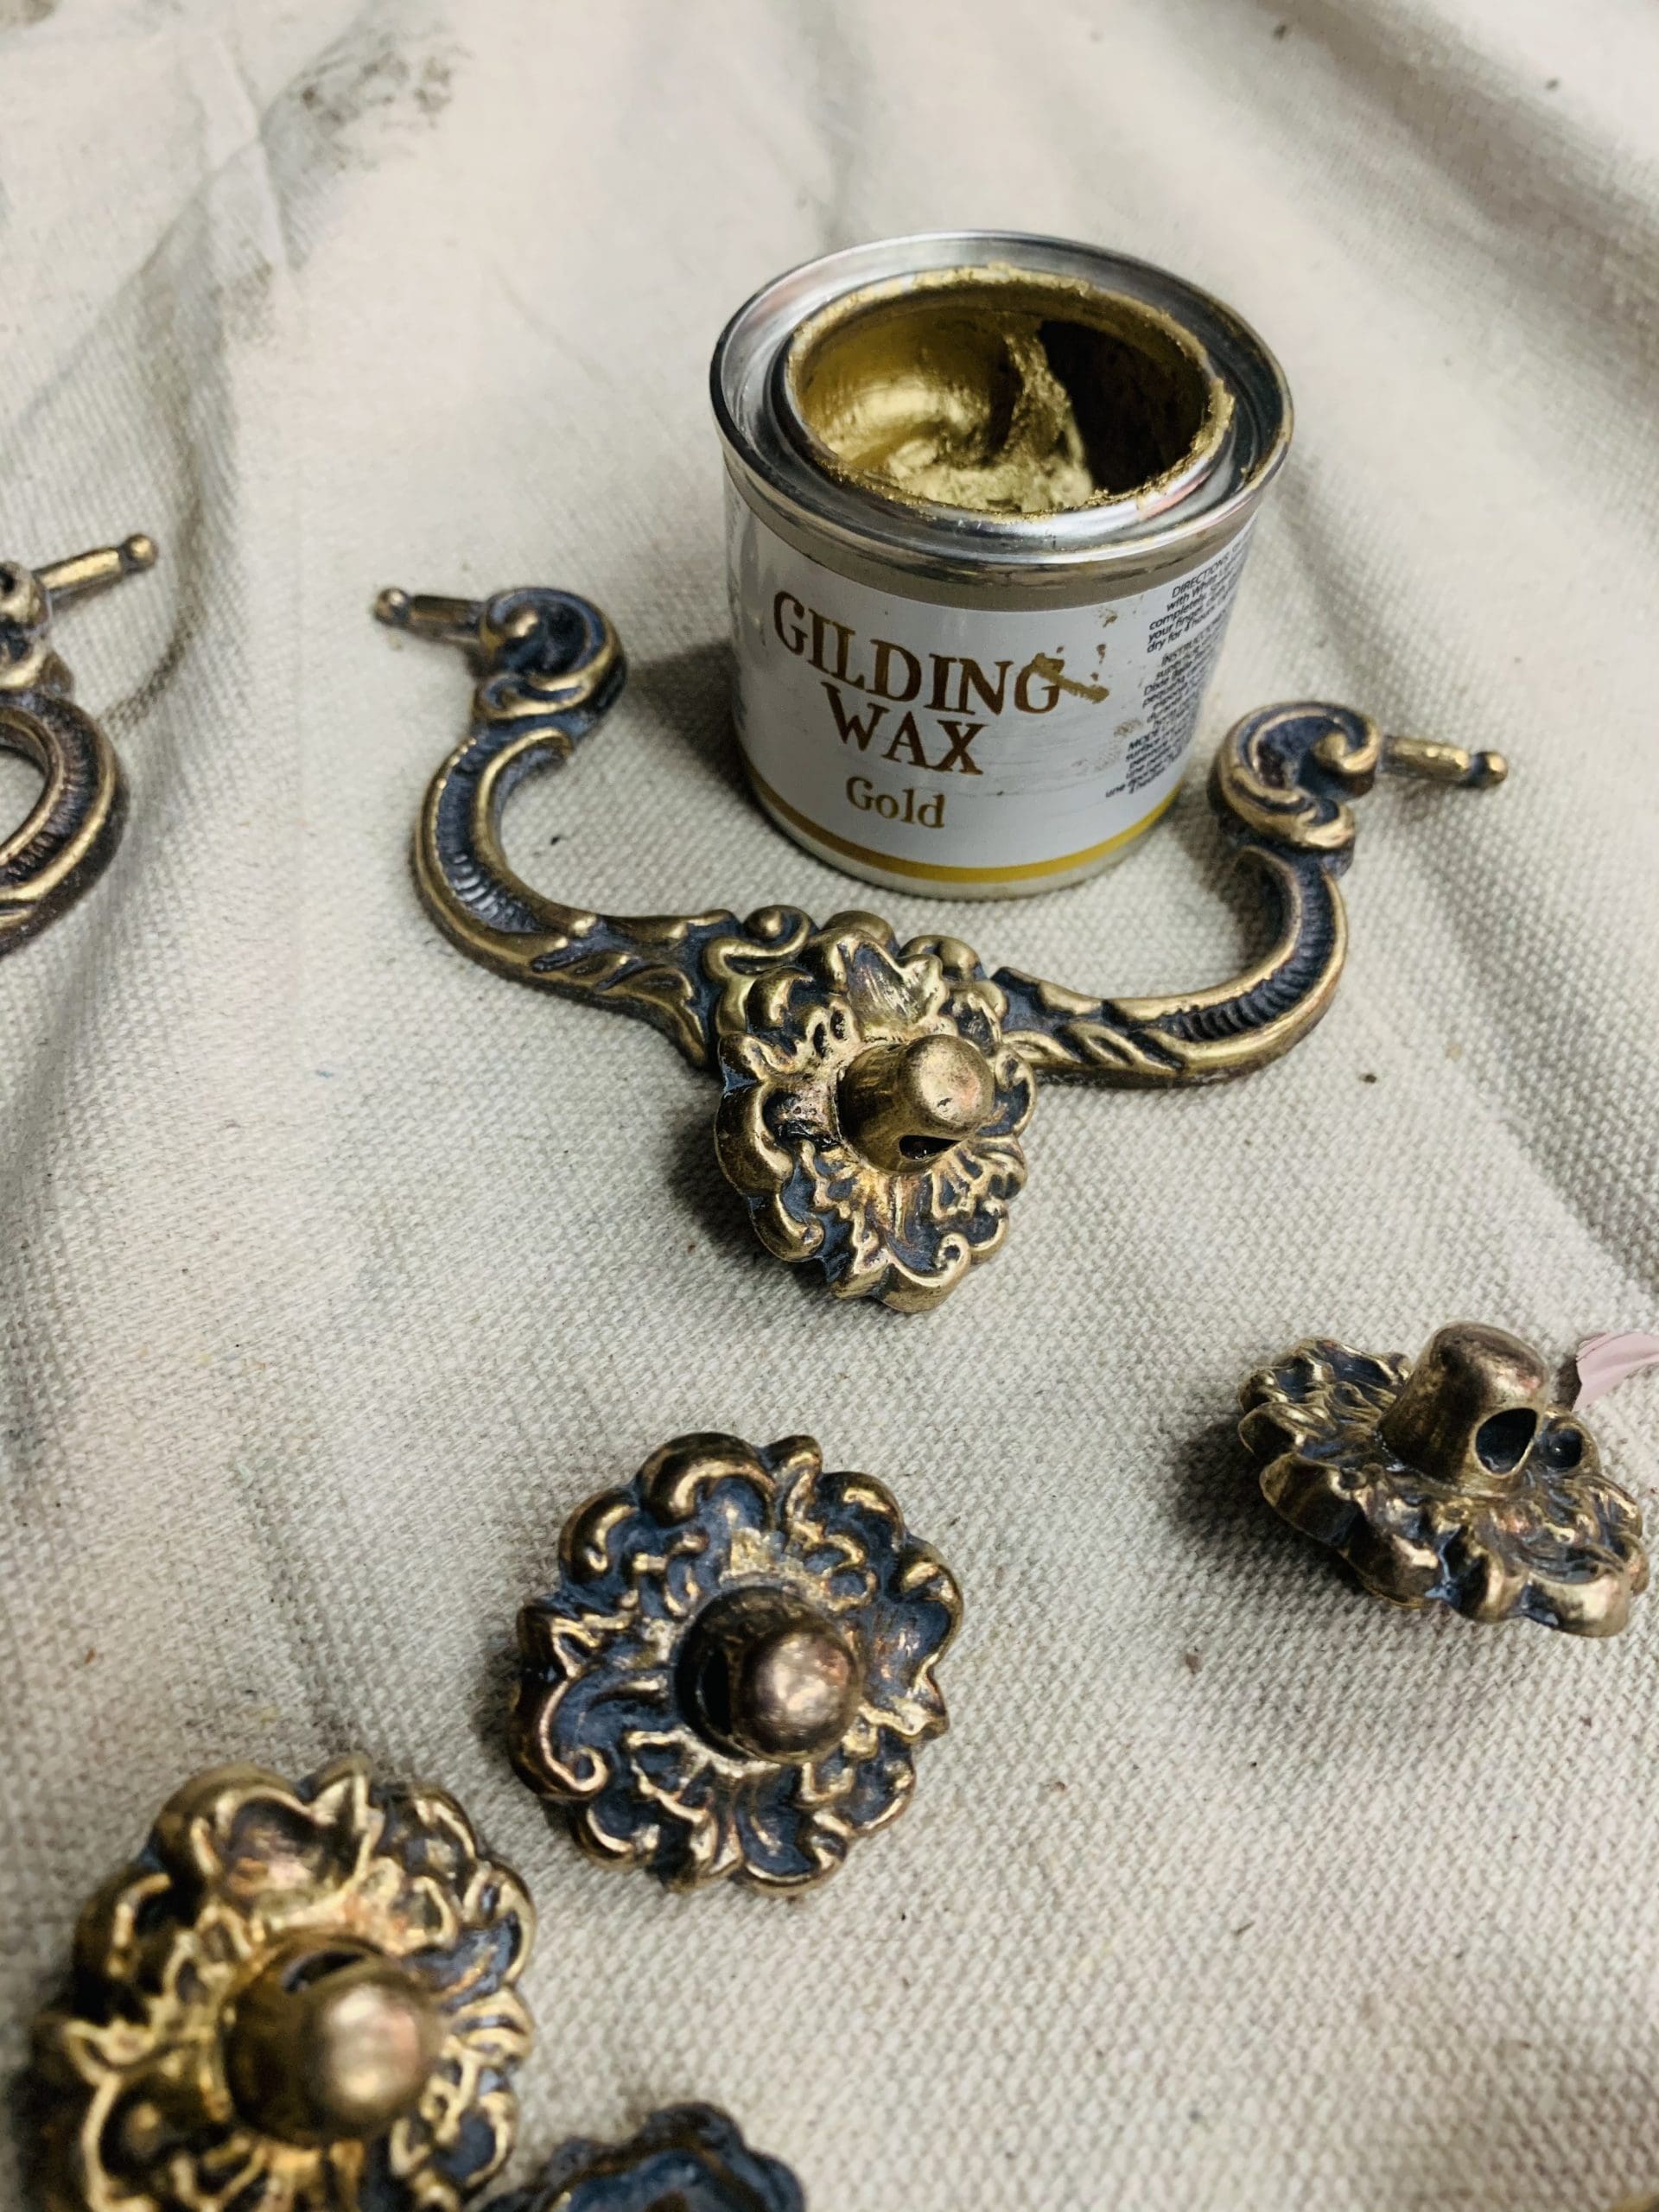
It’s just a fun new tool to make detail work a bit easier! Then I applied Chamaeleon wax in lilac over the details on the doors and drawers. Lastly I applied a touch of Gold Gilding wax on all the details.
Oh, did you think I for the hardware??? I wanted to keep this a simple for our 24 hour challenge. I soaked it in a 50/50 mix of vinegar and water for an hour. Then I cleaned it with Bar Keepers friend. Once it was dry I applied Gold Gilding wax on it to make it look beautiful again! Somehow the door hardware went missing so I had these modern looking knobs from Menard’s on hand. They fit perfectly with the decoupage paper!
That’s it!! In 24 hours we have a beautiful new piece of furniture!! This piece is available! You can see the listing here.
